I will be going over how you can export your local SQL Database to Azure SQL within SSMS. If you have not created your SQL server and database on Azure, here is a tutorial I found on Youtube that guides you through the process.
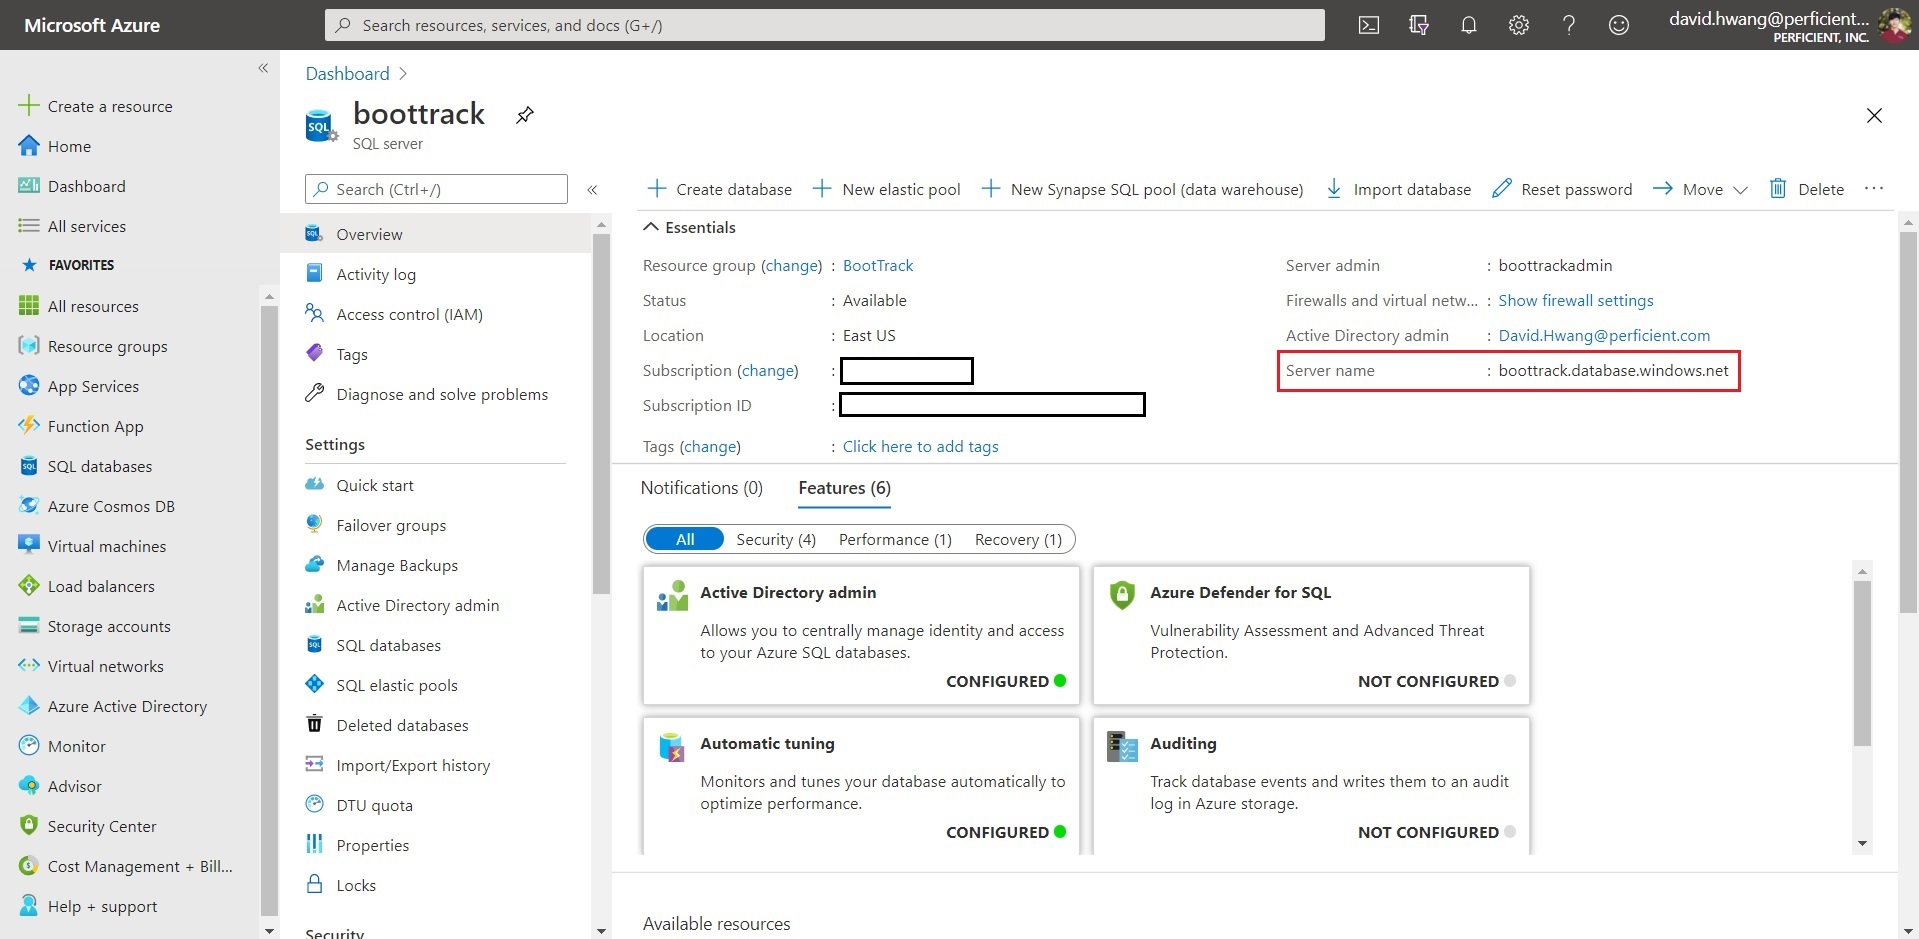
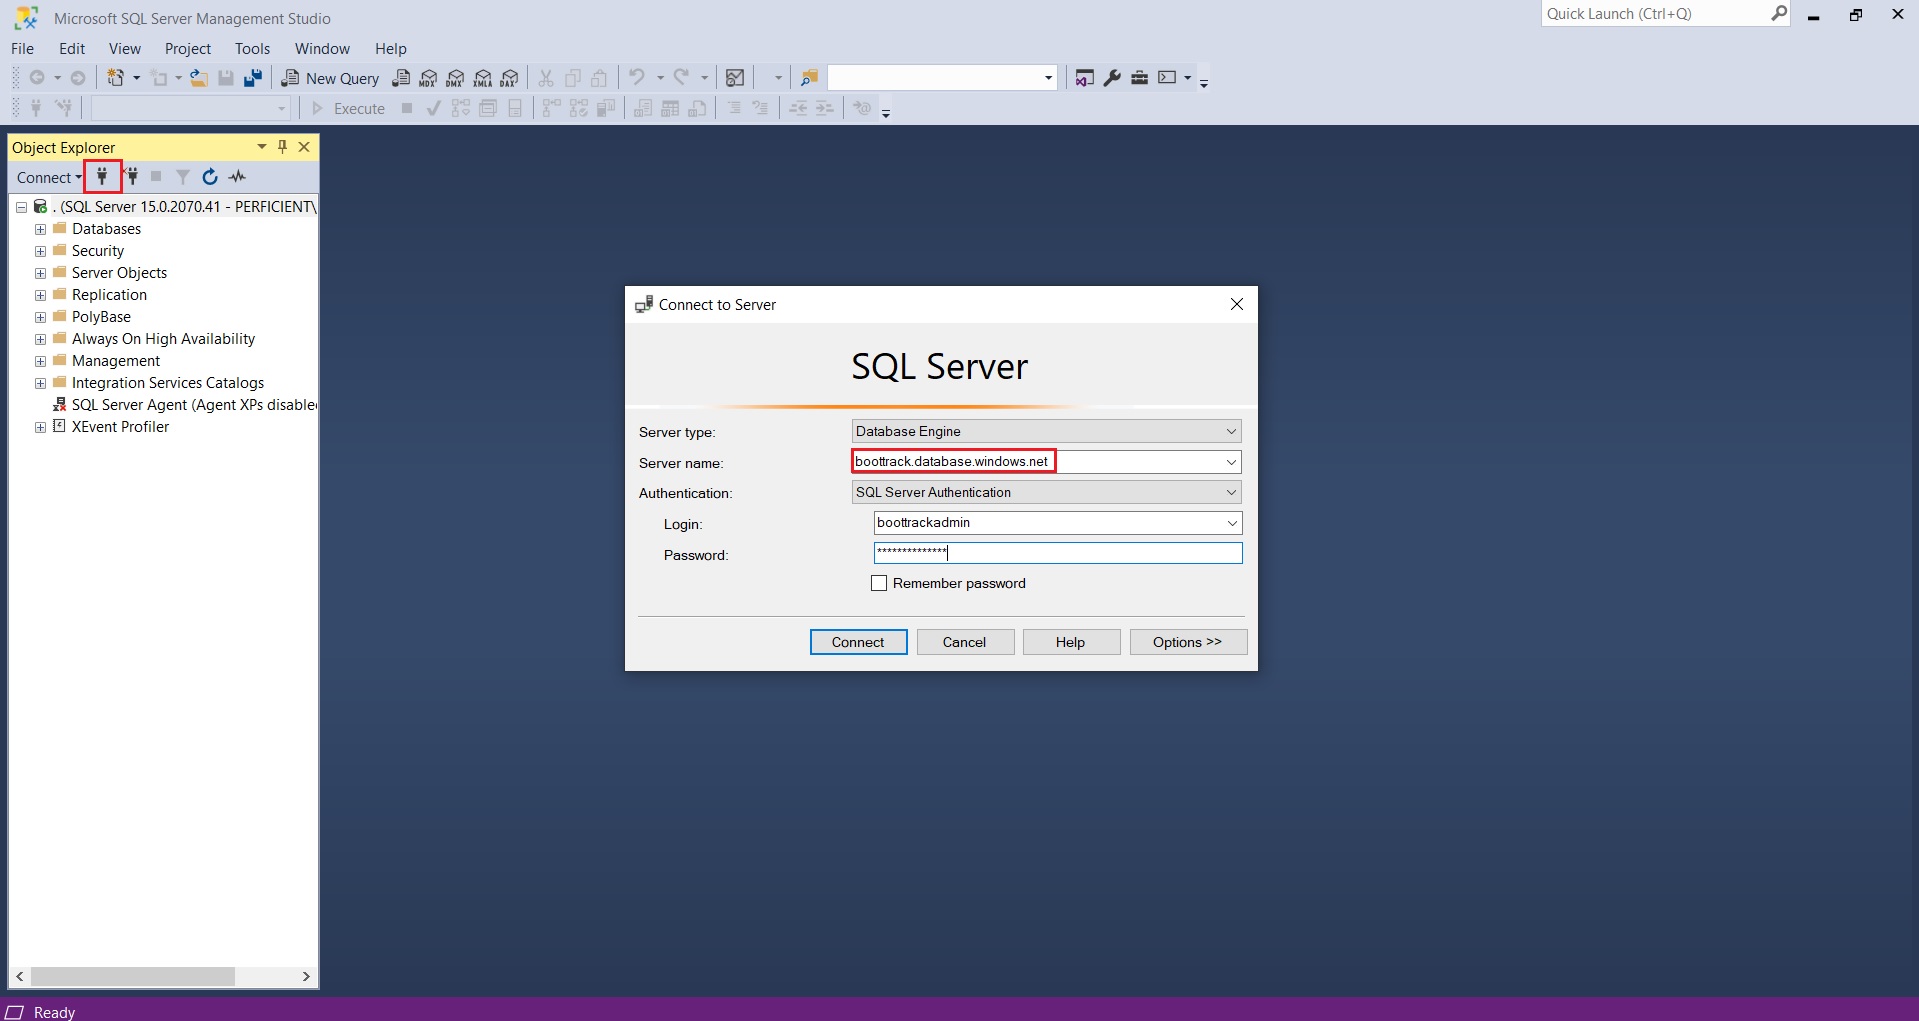
Open your SQL Sever Management Studio and enter the Azure SQL server name from above and the credentials you have configured for the server.
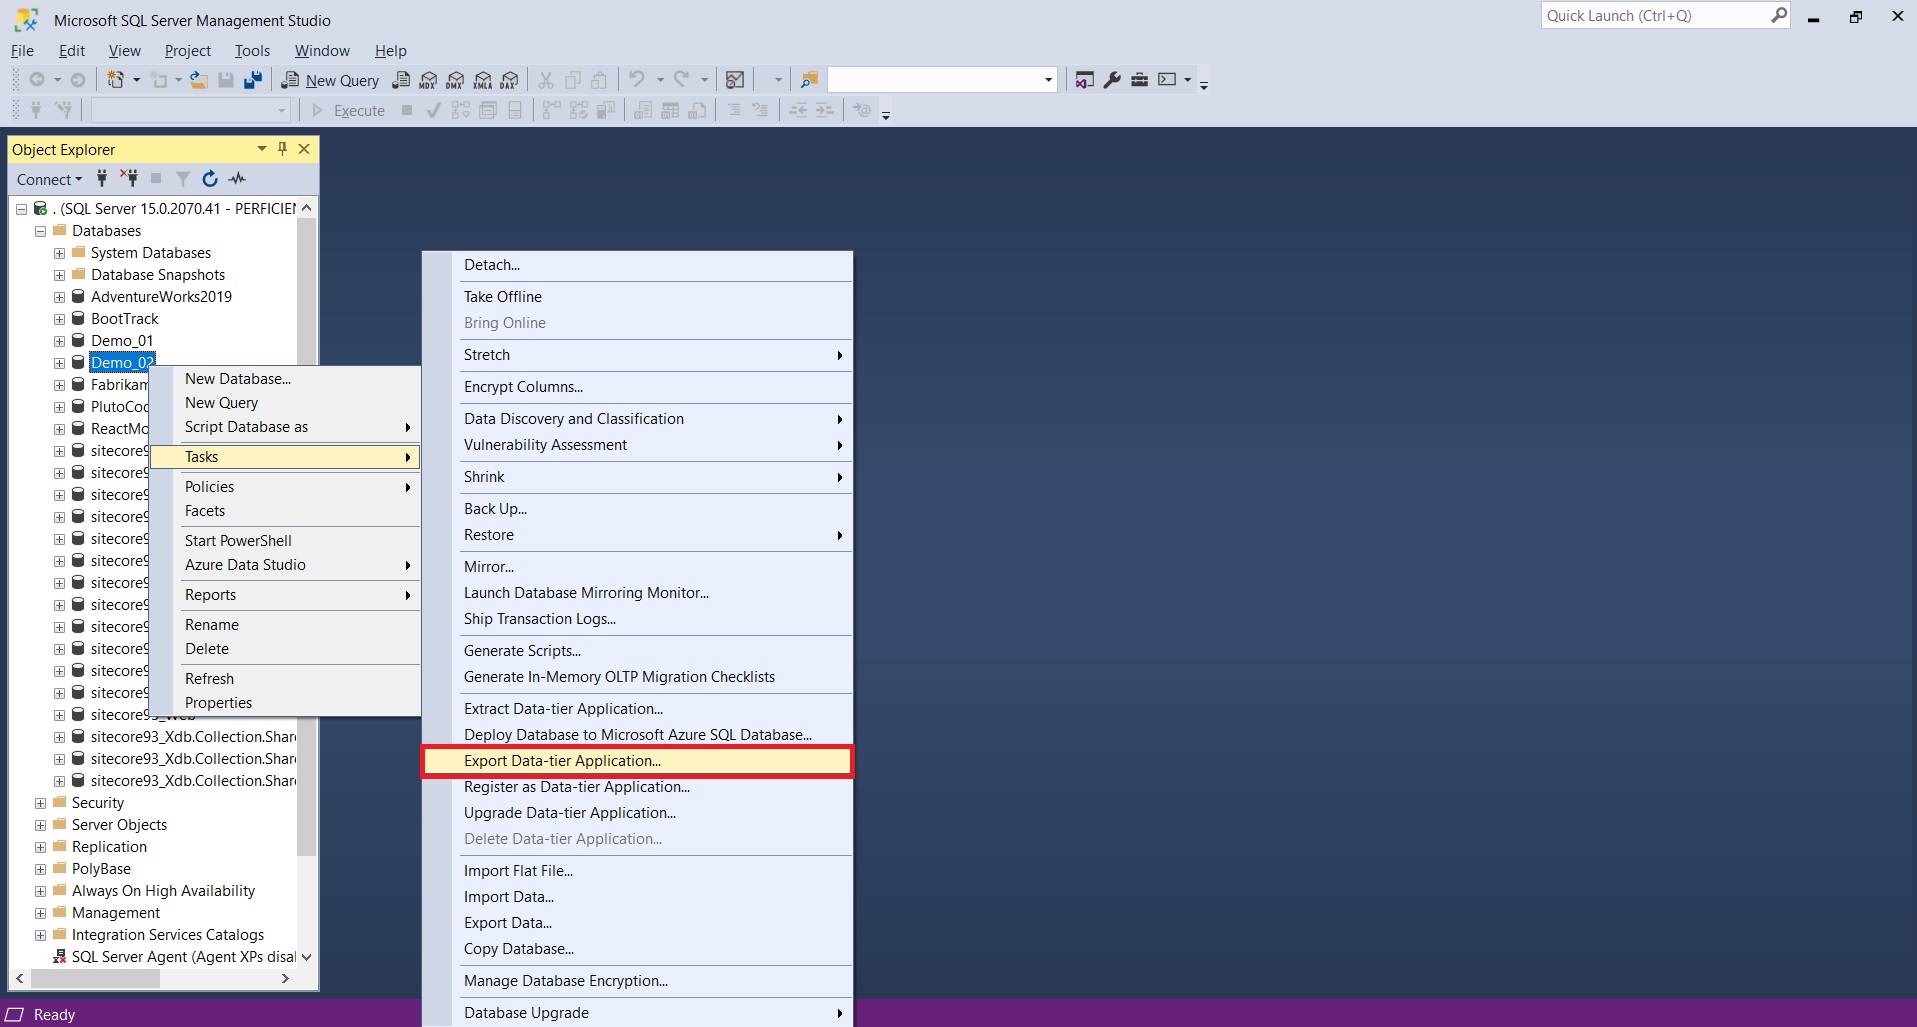
Right click the local database you want to export and select ‘Tasks’ > ‘Export Data-tier Application’.
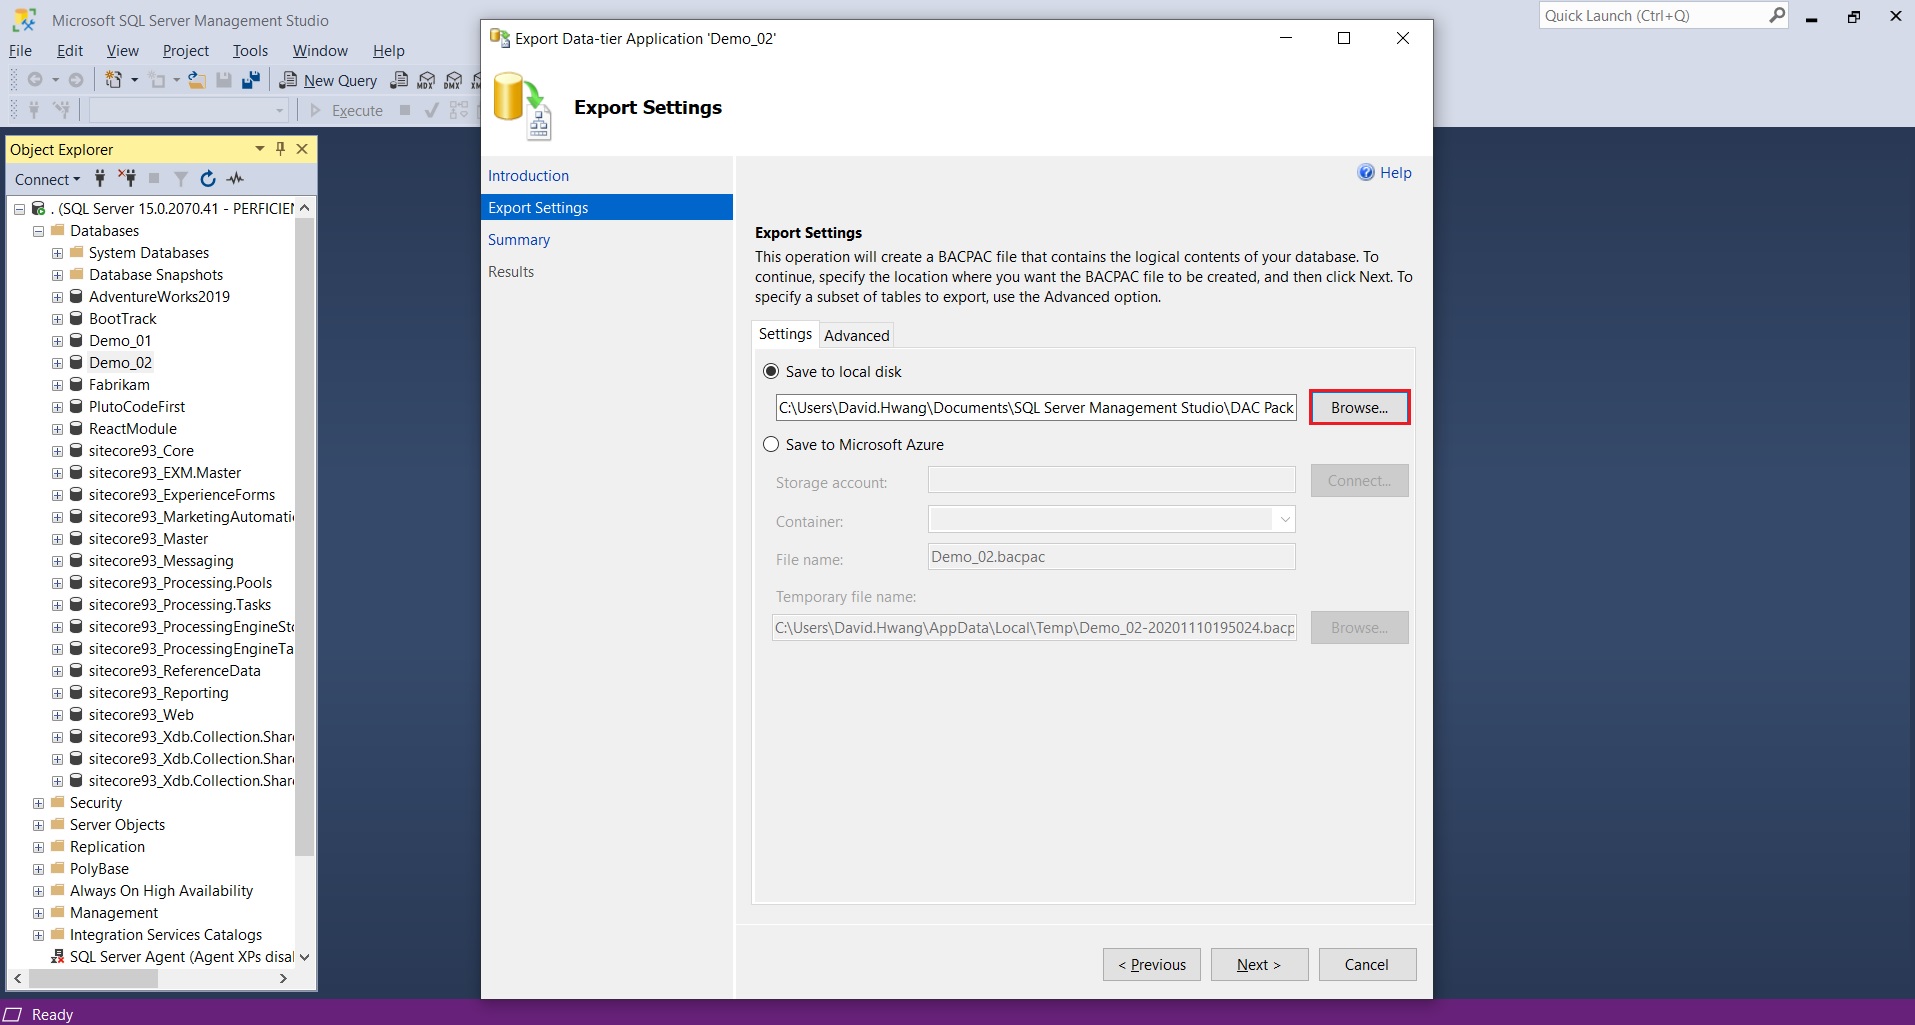
Click next and configure where you want to save your .bacpac file.

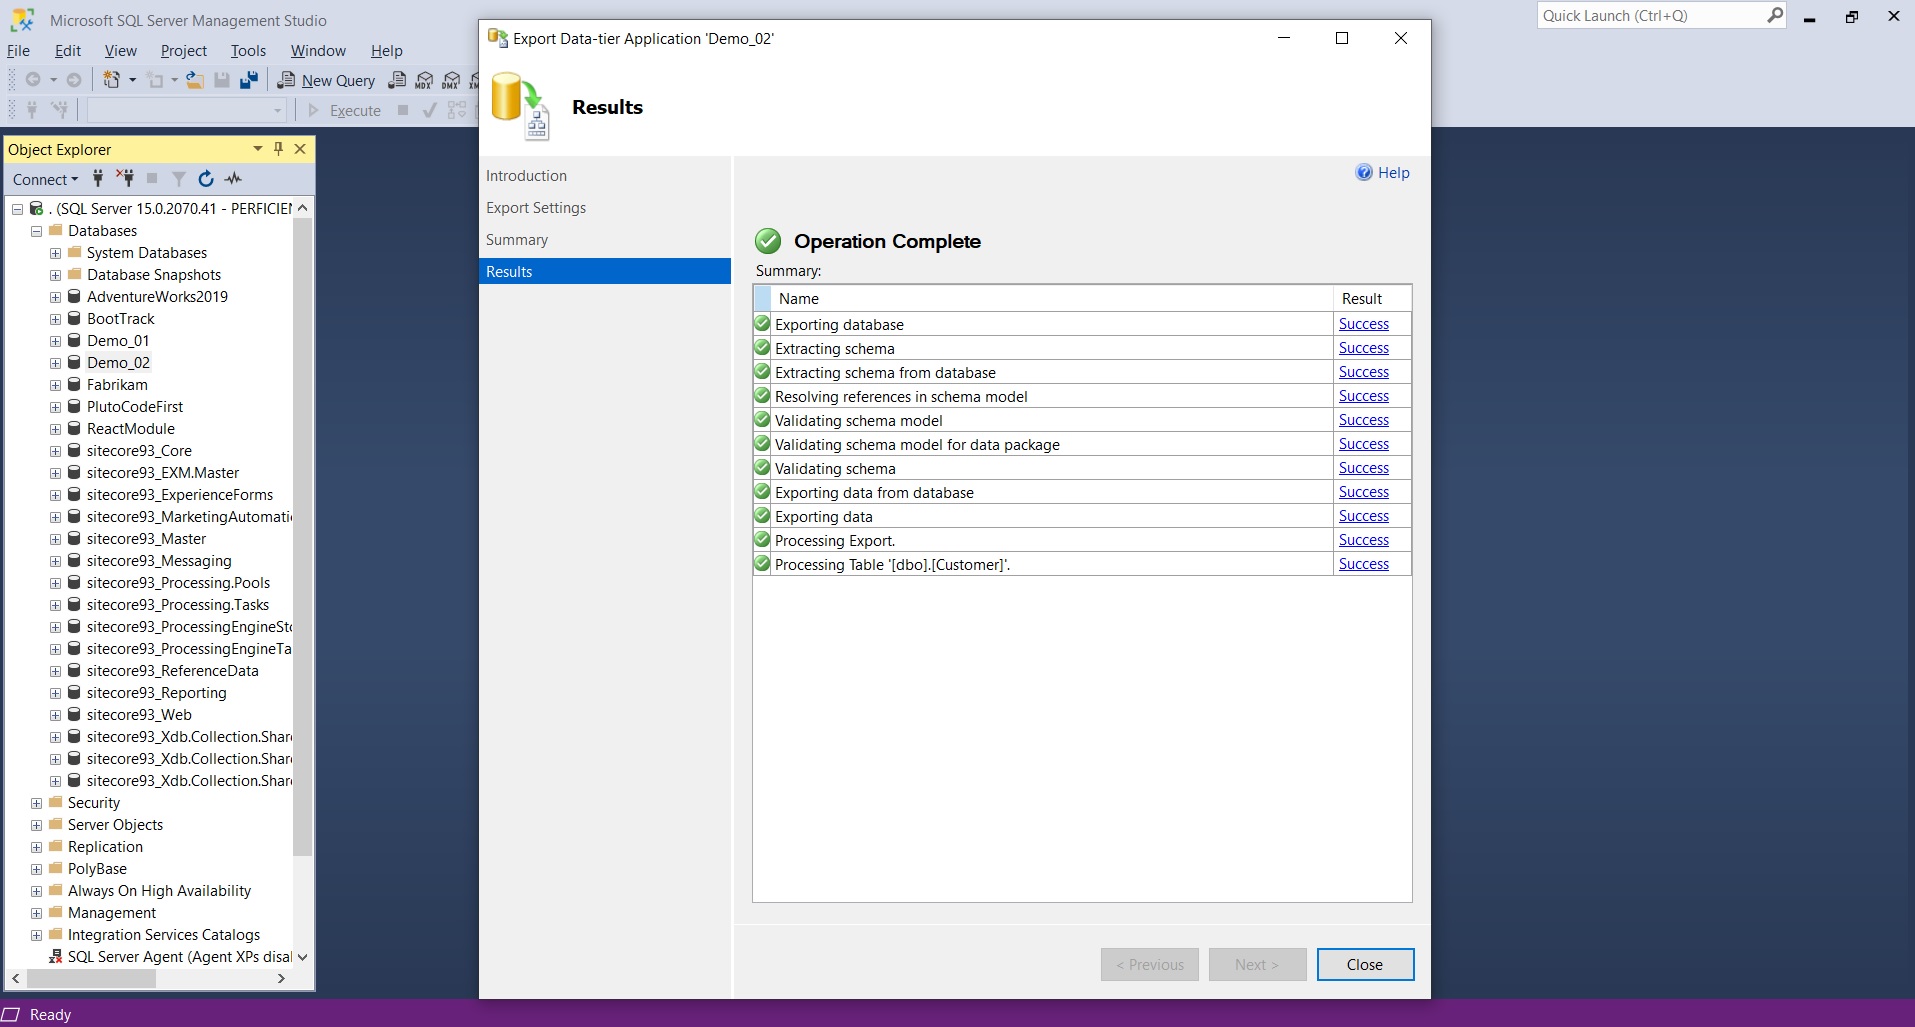
Once the export is complete, an ‘Operation Complete’ message will appear.
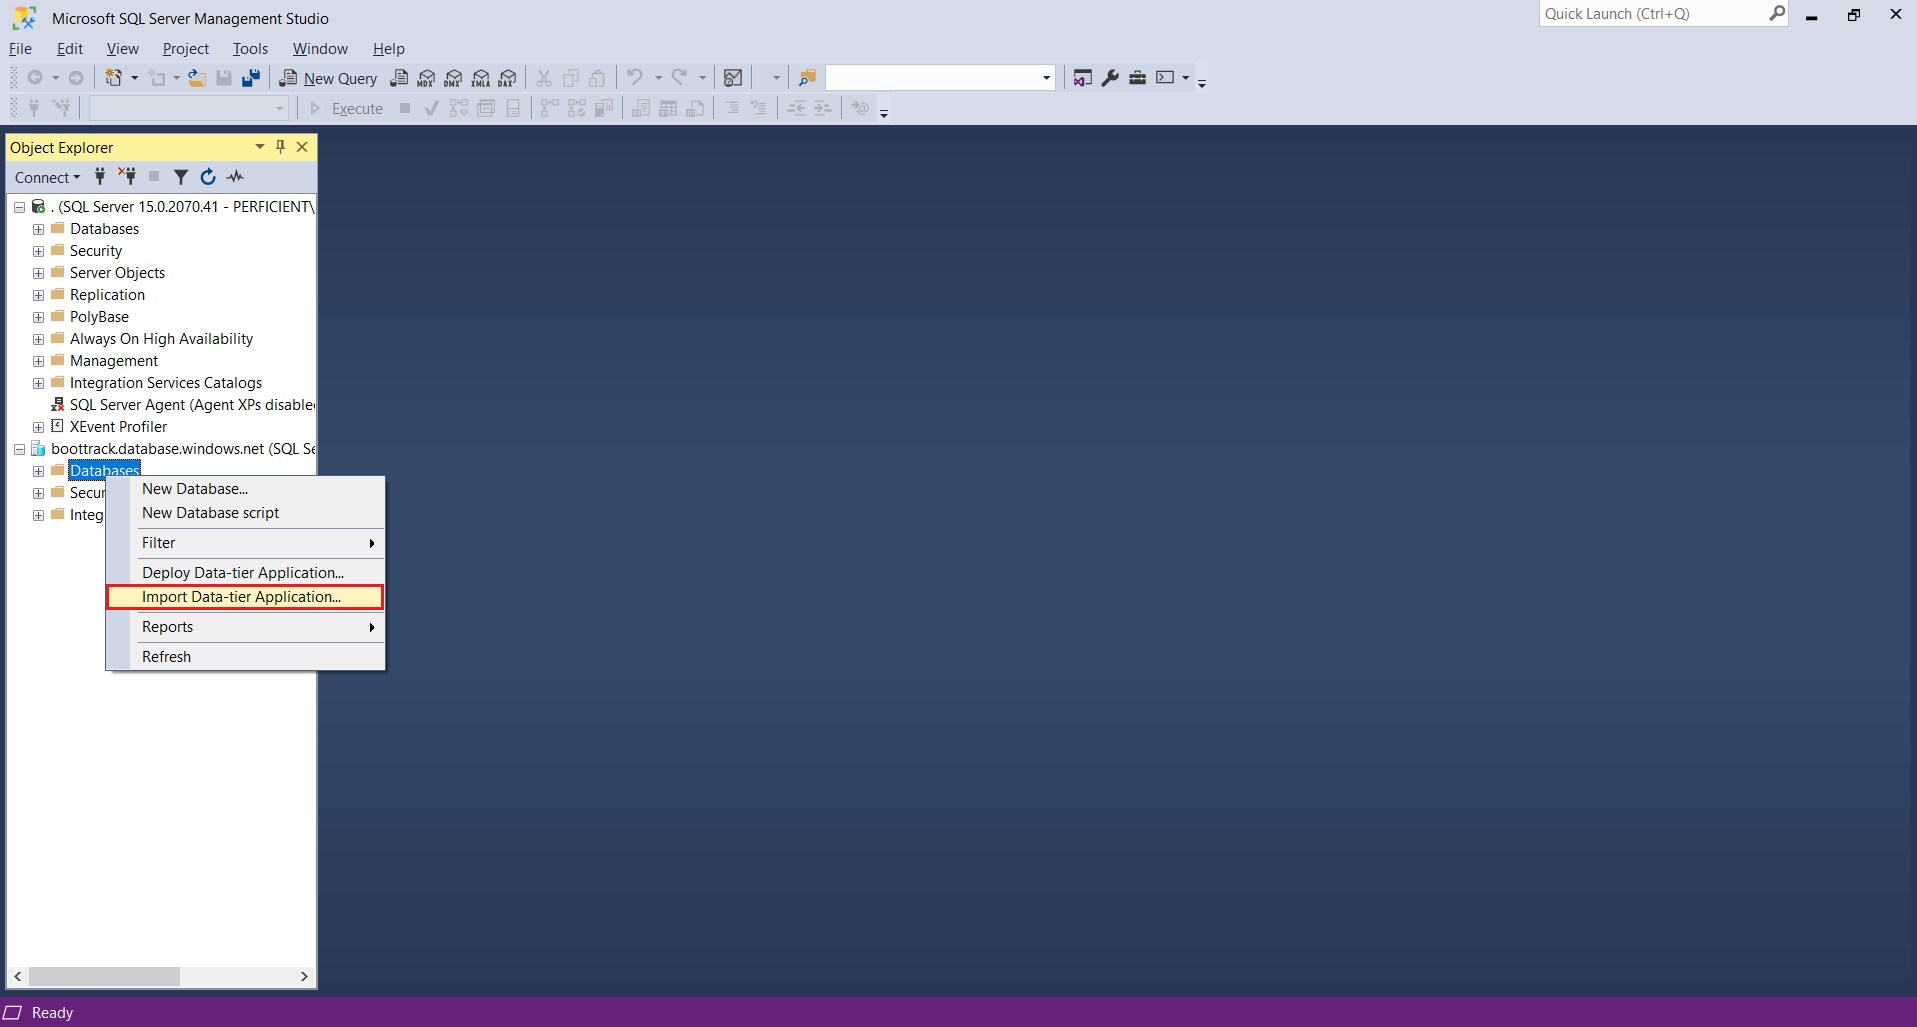
Now right click the database folder of the database connected to the Azure SQL.
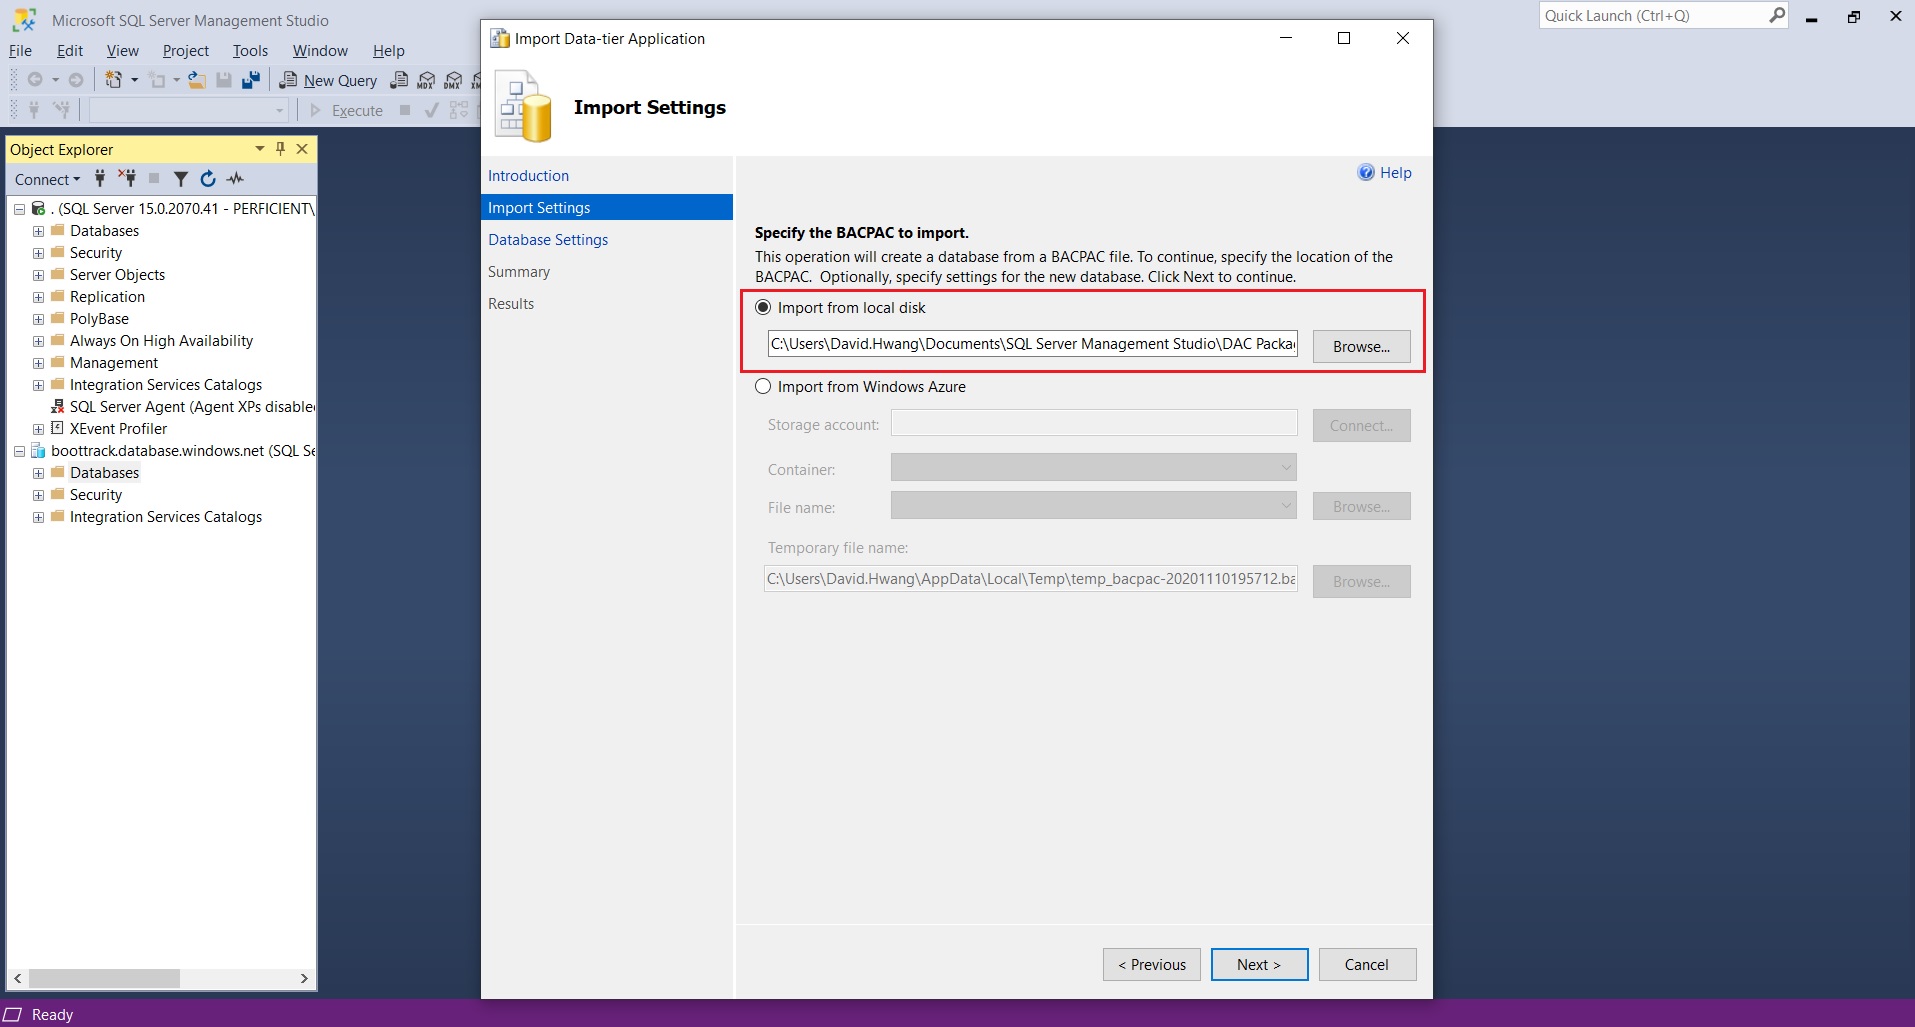
Browse and select the .bacpac file you created above.
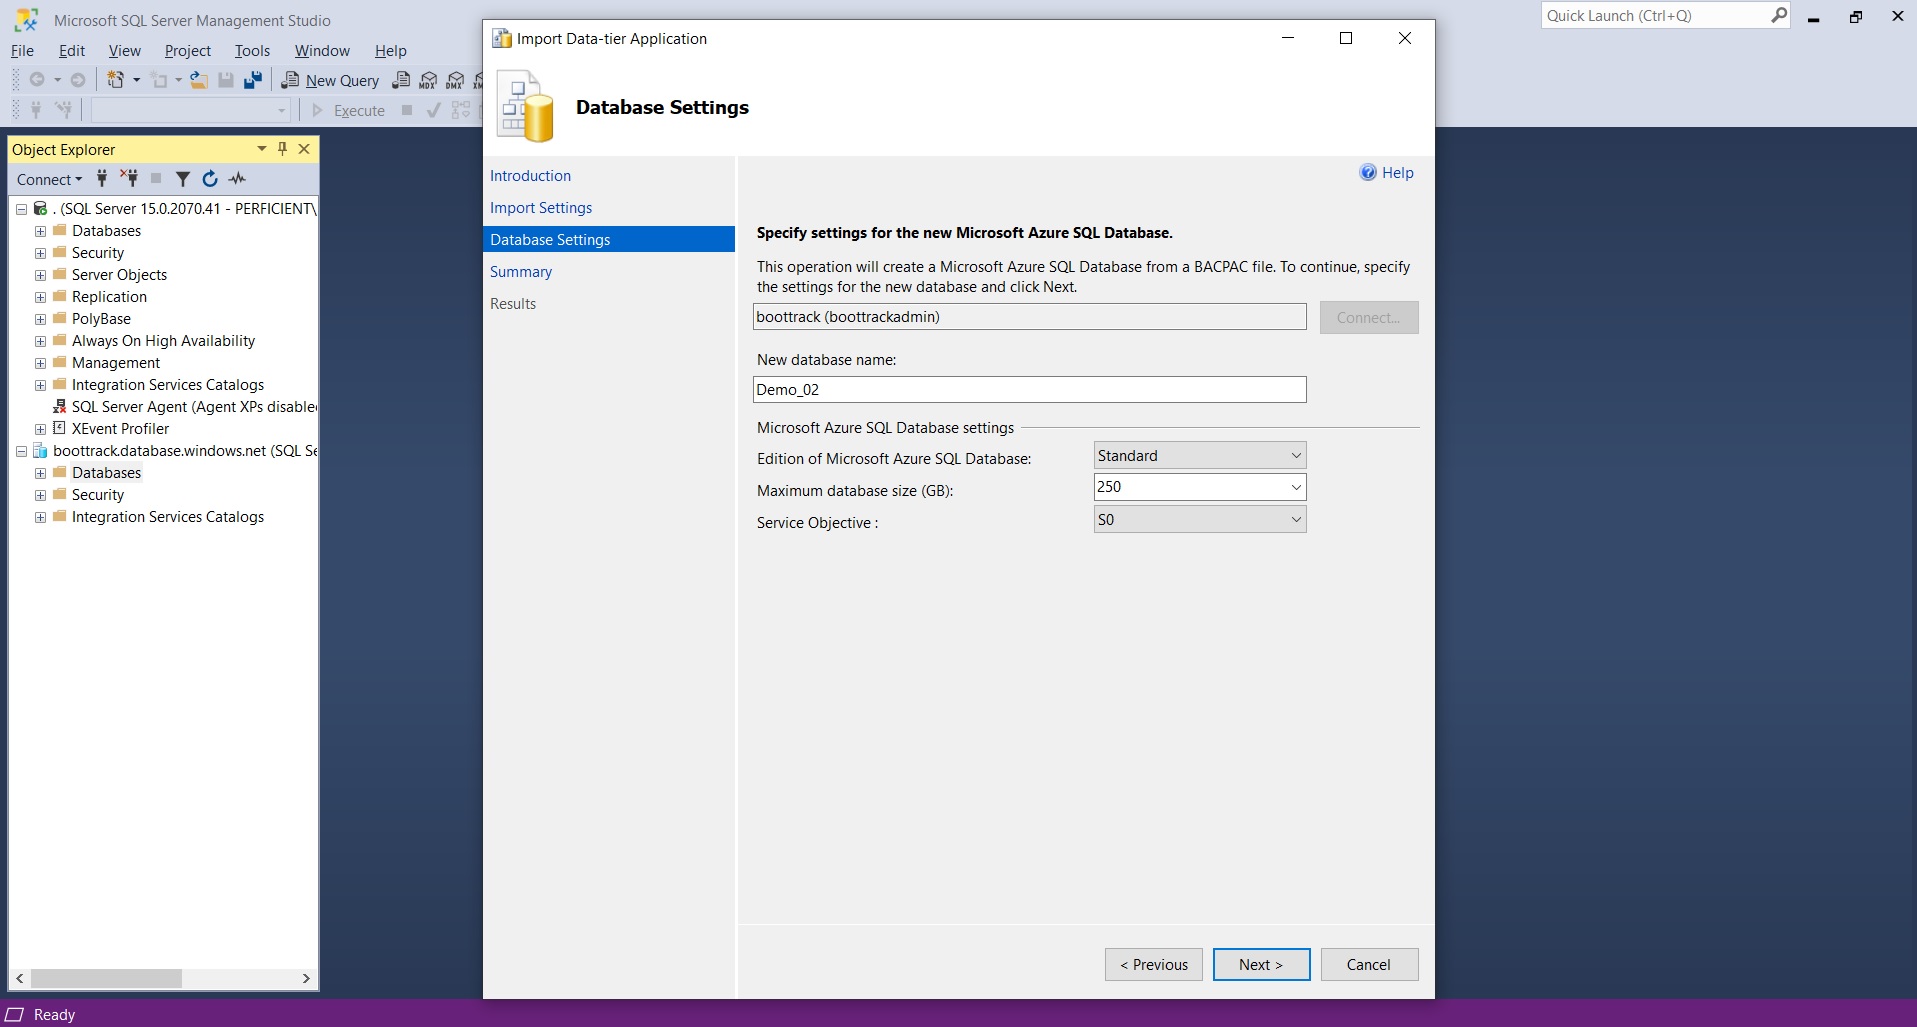
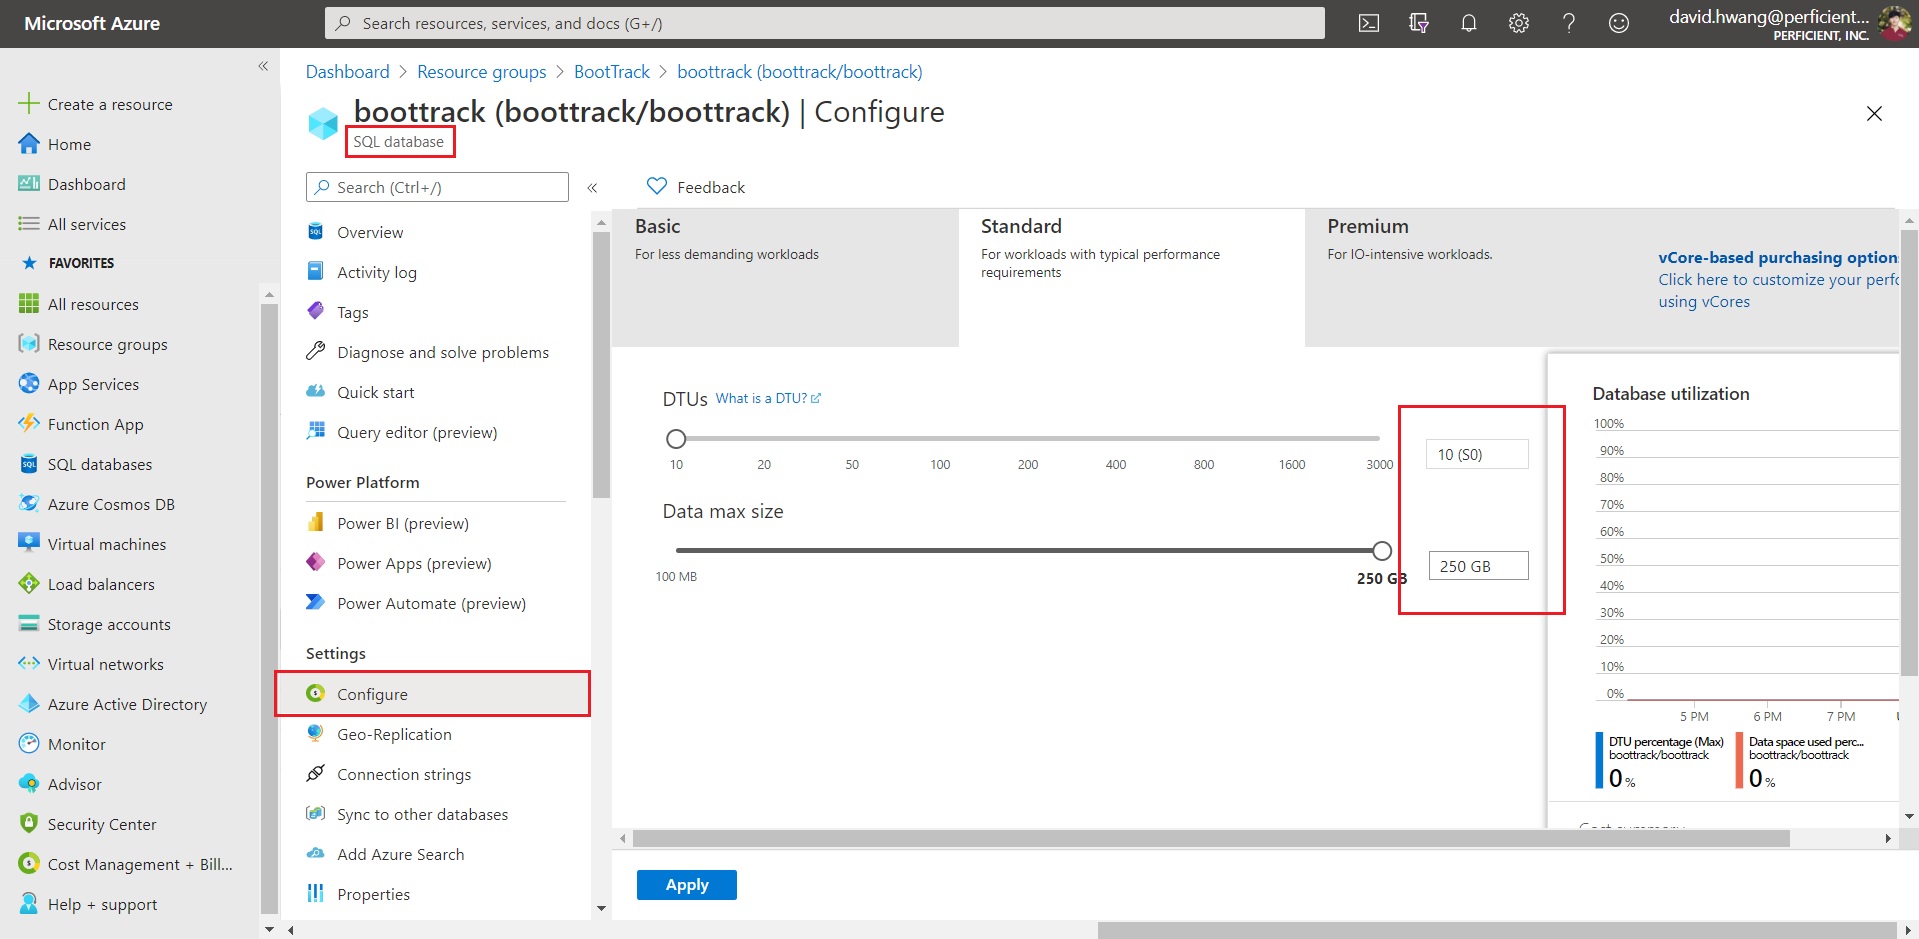
Name your database and configure your Azure SQL Database settings to match that of your Azure SQL settings in your portal.
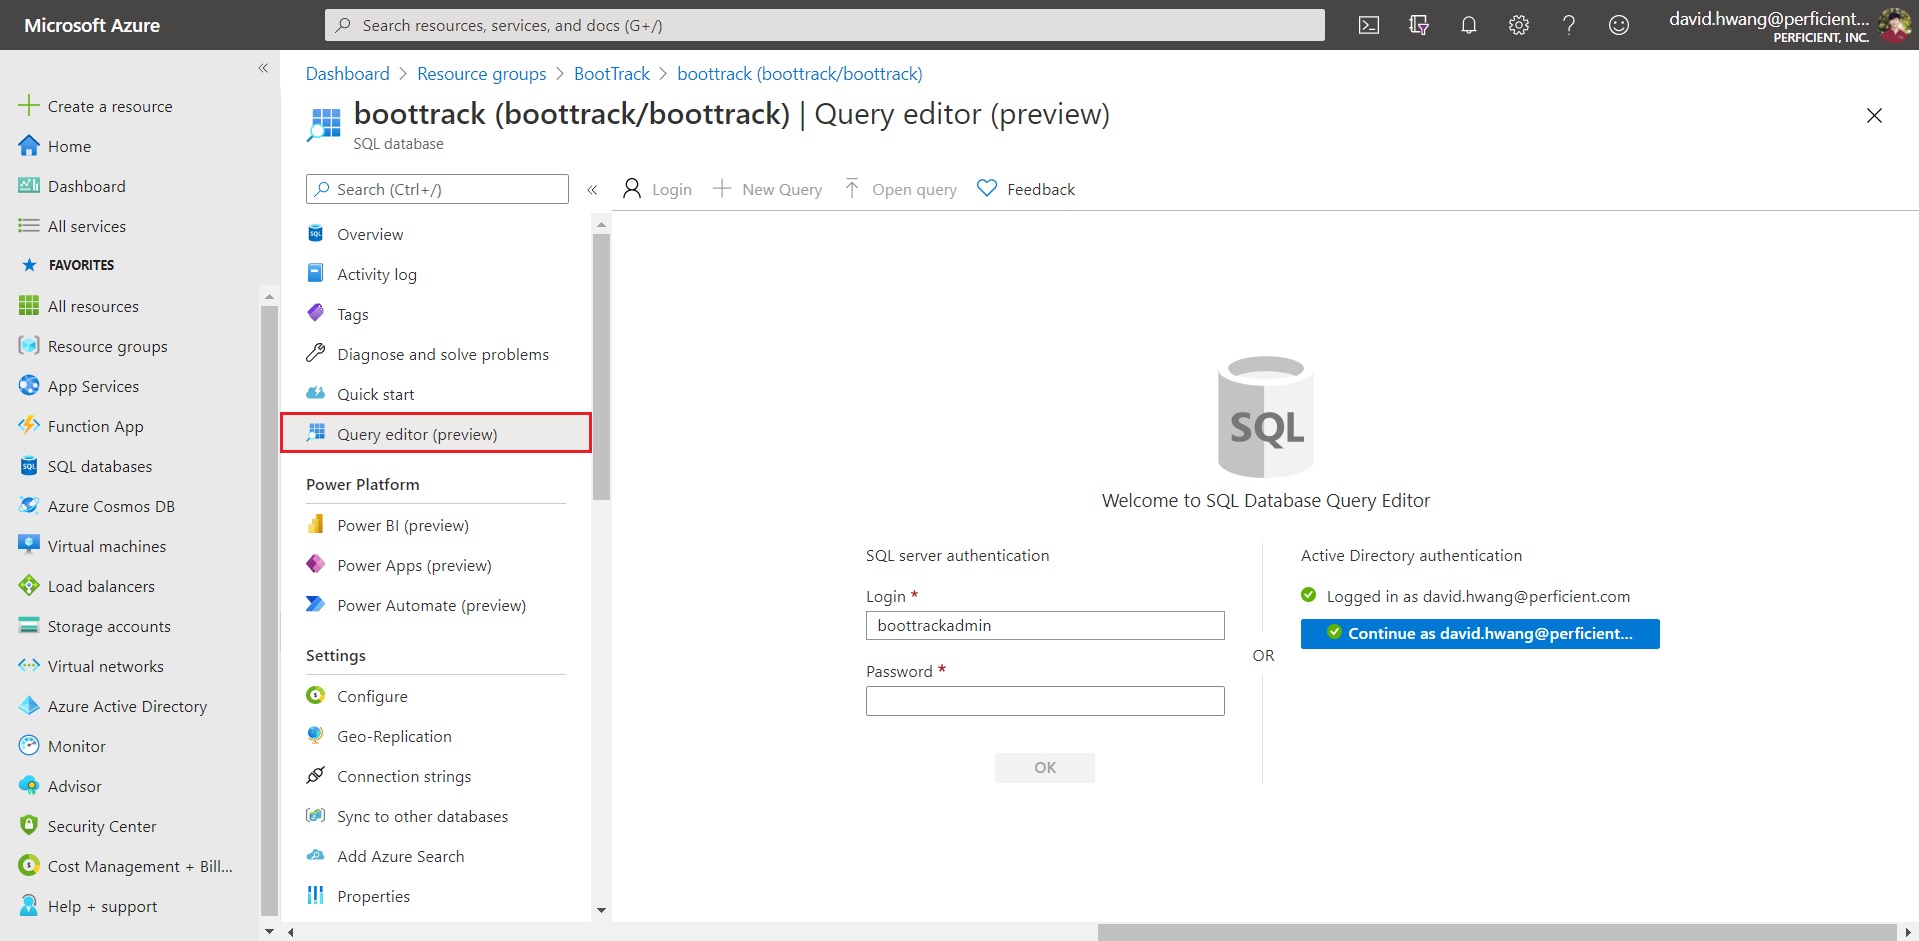
Once your import has succeeded, you will be able to see your table deployed in your query editor.