
One of the capabilities of OneStream XF is the ability to present data not loaded to a cube. In this blog, I will discuss how to add a hyperlink to a report and render an invoice. The GolfStream application will be utilized to document and demonstrate this functionality.
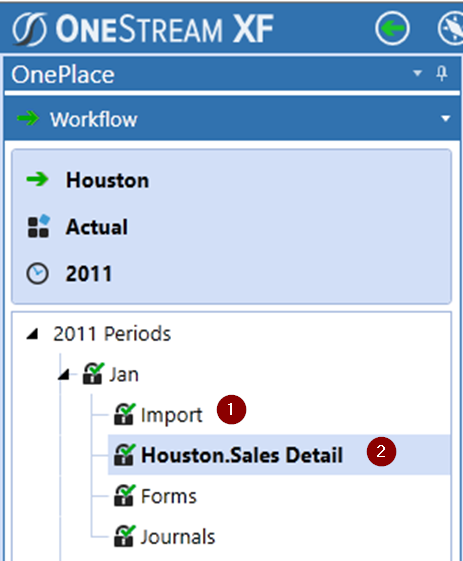
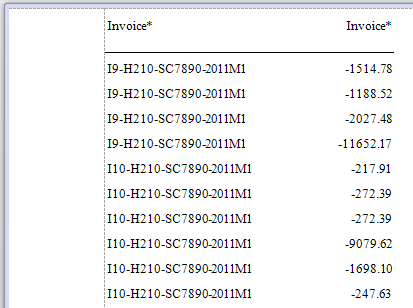
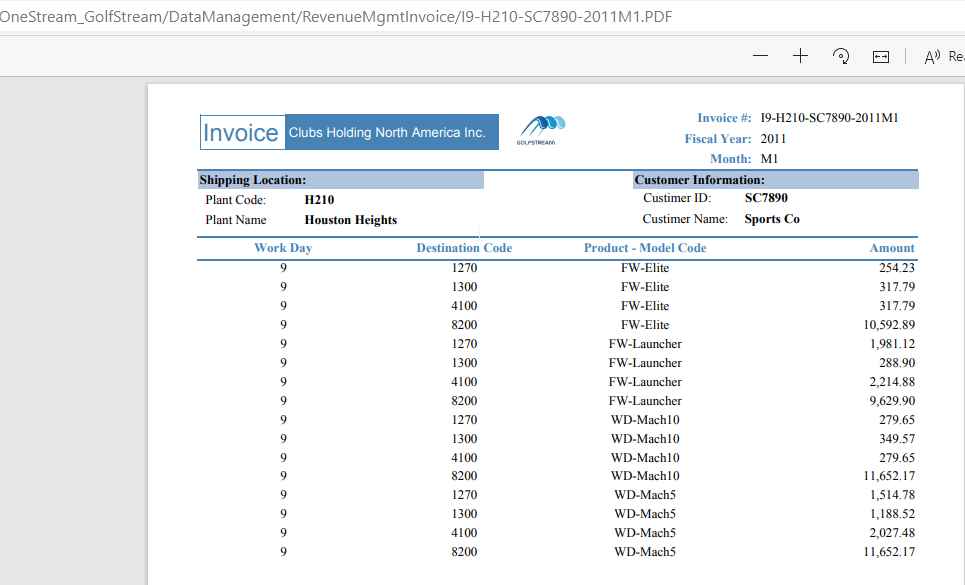
For individuals familiar with GolfStream, the Houston entity has a trial balance import “1” and a sales detail import “2”. With respect to the Sales Detail import, the Invoice No is included on the Import but not loaded to the cube and will be utilized to demonstrate reporting with non-OneStream data by including a hyperlink and querying stage data. A sample of the Invoice No is shaded in the second image for reference. Note, the query could be any data OneStream has access to and is appropriate for the audience.

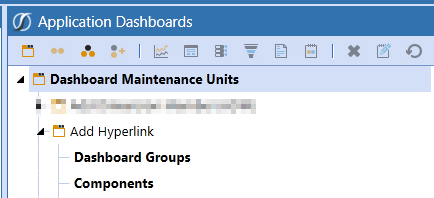
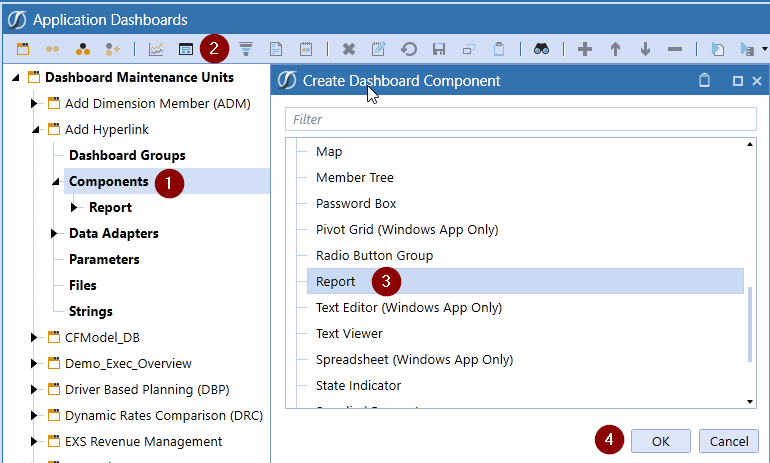
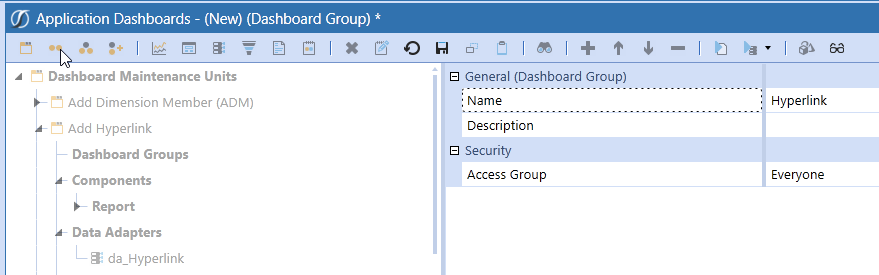
To begin the report development, the Application tab is selected and then a Dashboard Maintenance Unit “Add Hyperlink” is created.
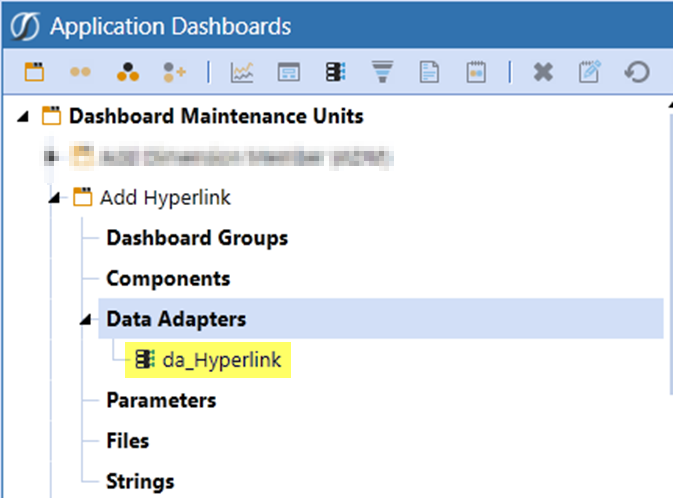
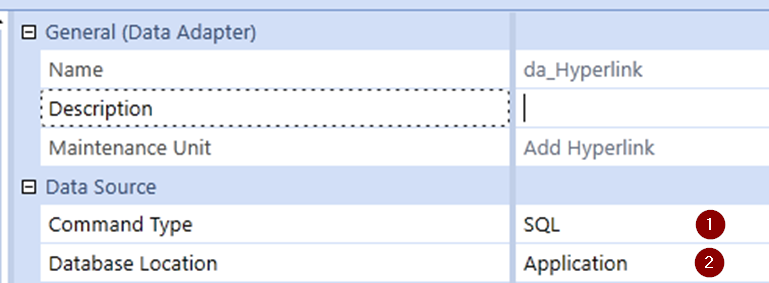
Next create a data adapter, da_Hyperlink, which will have a Command Type of SQL “1” and a Database Location of Application “2” as displayed in the second image.
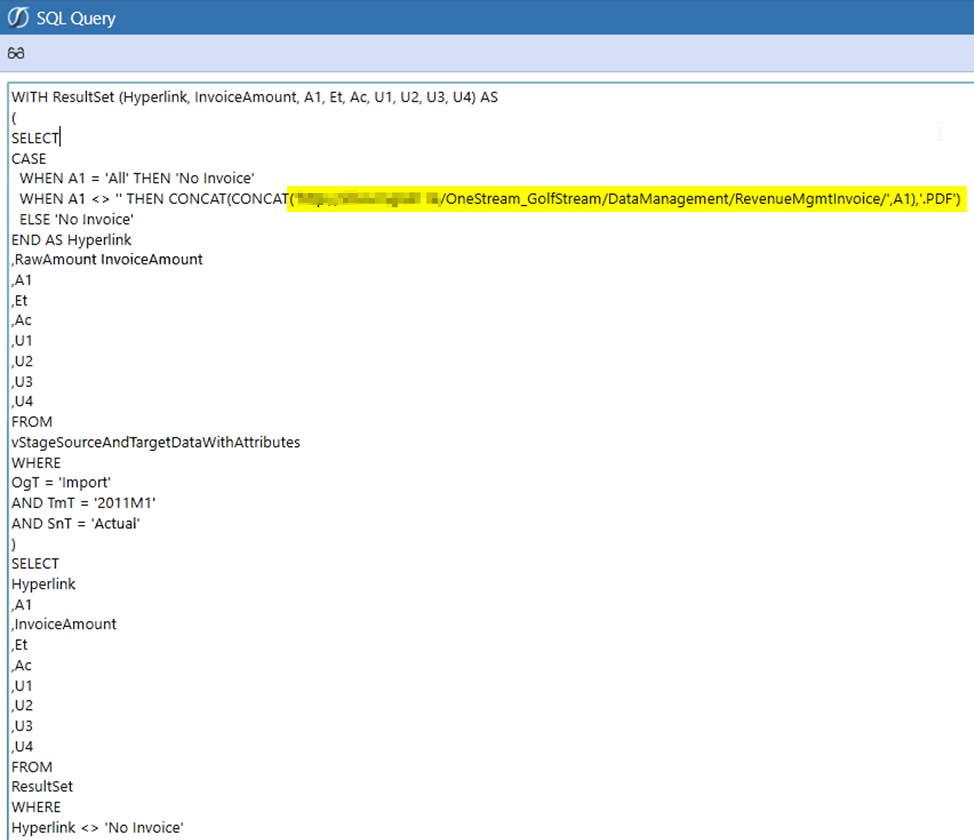
Once the data adapter is created, a SQL query is added. The highlighted text will be the hyperlink to the PDF of the invoice and the other fields displayed between the SELECT and FROM are included for the initial display of the result set with only A1 “Invoice #” and InvoiceAmount used in this blog. After the SQL is added, select OK and then save the Data Adapter.
With the Data Adapter created, the next step is to create a Report Dashboard Component. Select Components “1”, icon Create Dashboard Components “2”, Report “3” and then OK “4”.
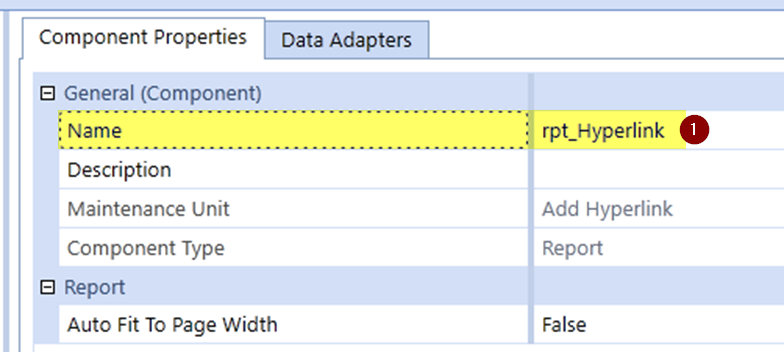
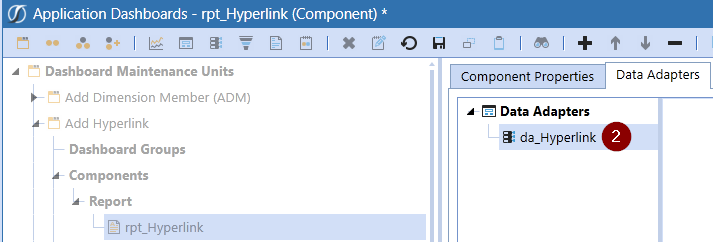
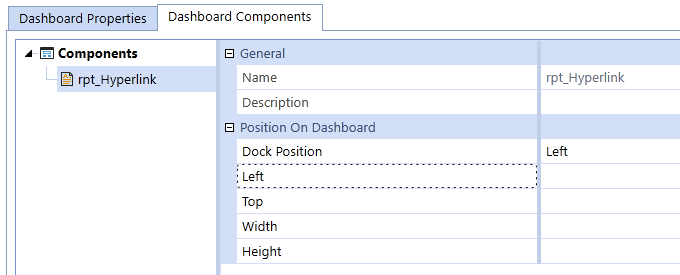
Add a name, rpt_Hyperlink “1”, to the Component Properties and then add the previously created Data Adapter “2” to Data Adapters which is displayed in the second image. Once this is done, select Save.
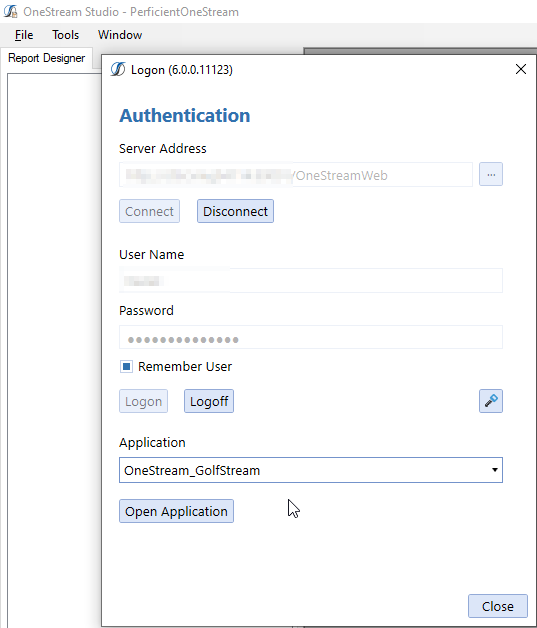
If you have version 6.1.1 of OneStream installed, select Report Designer; otherwise, select OneStream Studio the previous installation of which is assumed. As this blog will continue with OneStream Studio as the report authoring product, launch OneStream Studio and then log into the OneStream_Golfstream application.
Navigate to and select the report, rpt_Hyperlink, previously created. Once the dashboard component is selected, right-click, and choose New Layout.

Modern Accounting: How to Overcome Financial Close Challenges
Improvements in each of the following period-close core tasks can provide transformative change and are reviewed in this guide include closing the books and external reporting, periodic reconciliations, and managing the period-close process.
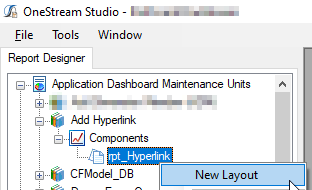
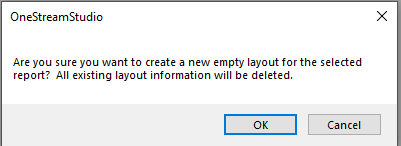
Select OK to confirm the creation of a new empty layout.
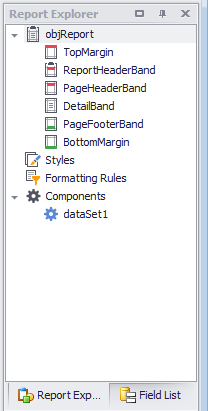
From the Report Explorer, select Field List.
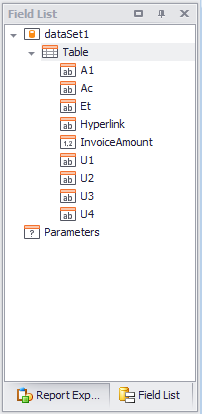
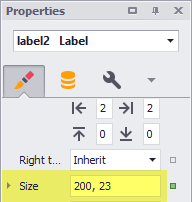
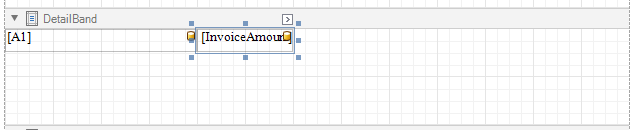
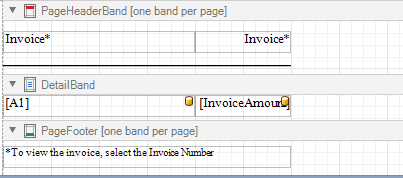
Drag and drop the A1 field from the Field List. Once this is done, expand the width of the field to about two inches either by dragging the field or updating the Appearance, Size, Width to 200 which is displayed in the second image.

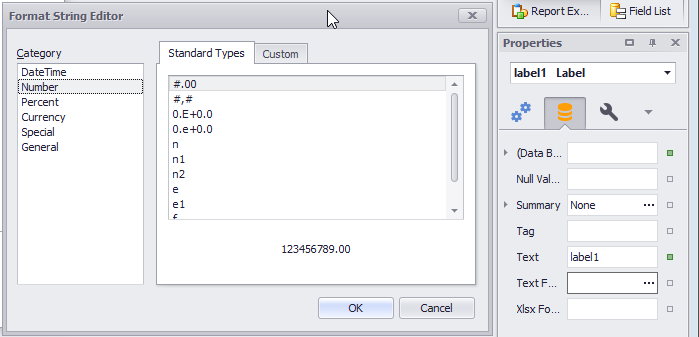
Drag and drop the Invoice Amount field from the Field List and place next to the right edge of A1. Once this is done, format the Invoice Amount to a number that is displayed in the second image.
For brevity, the remaining formatting steps are skipped, and the final report layout is displayed to provide a reference.
With the A1 field selected, select the Data icon ![]() located as a selection of the Properties Window.
located as a selection of the Properties Window.
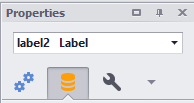
Select and expand the following (Data Bindings) “1”, Navigation URL “2” and Bindings “3”. From the drop-down, select the Hyperlink “4” field. Once this is done select Save.
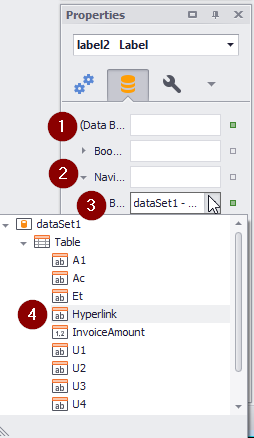
Select Save and then Preview which is located and the bottom of the Report Layout display.
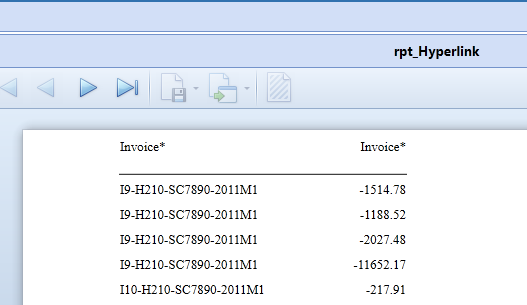
After the data displayed, click any of the Invoice numbers which will display the PDF of the invoice.
To enable this functionality from OneStream, return to OneStream and create a Dashboard Group ![]() named Hyperlink. Once this is done, select Save.
named Hyperlink. Once this is done, select Save.
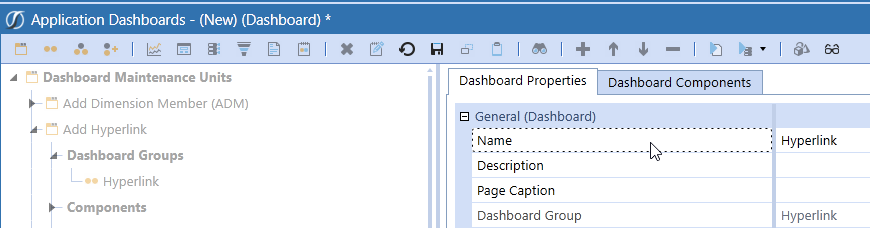
Create a Dashboard ![]() also named, Hyperlink. The add the Dashboard Component, rpt_Hyperlink, previously created which is displayed in the second image. Once this is done, select Save.
also named, Hyperlink. The add the Dashboard Component, rpt_Hyperlink, previously created which is displayed in the second image. Once this is done, select Save.
With the Dashboard saved, select View Dashboard ![]() which will generate the next image. Same as before clicking any of the Invoice numbers will display the PDF of the invoice.
which will generate the next image. Same as before clicking any of the Invoice numbers will display the PDF of the invoice.
I hope this blog has been helpful and thank you for reading. If you have any questions, feel free to either post a comment to the blog or email me at terry.ledet@perficient.com.