
One of the most common questions asked for new OneStream users is “How can I setup and use the OneStream Excel Add-In?” This two-part guide will serve as a resource that OneStream users can utilize to quickly install, log in, and benefit from the handy features within the OneStream Excel Add-In. The OneStream Excel Add-In is an Excel COM add-in that can be used for tasks such as entering data, opening Cube Views, and performing ad hoc analysis.
First, let’s focus on installing the OneStream Excel Add-in and making sure the correct version is installed on the user’s machine. The add-in’s version number must match the OneStream application’s version number because currently there is no backwards compatibility.
There are a few ways to ensure the correct version installed:
- Uninstalling the outdated add-in and retrieving the matching version’s installation files from the XF MarketPlace to install and setup.
- Using the “Client Updater” in the application tab of OneStream to update the add-in.
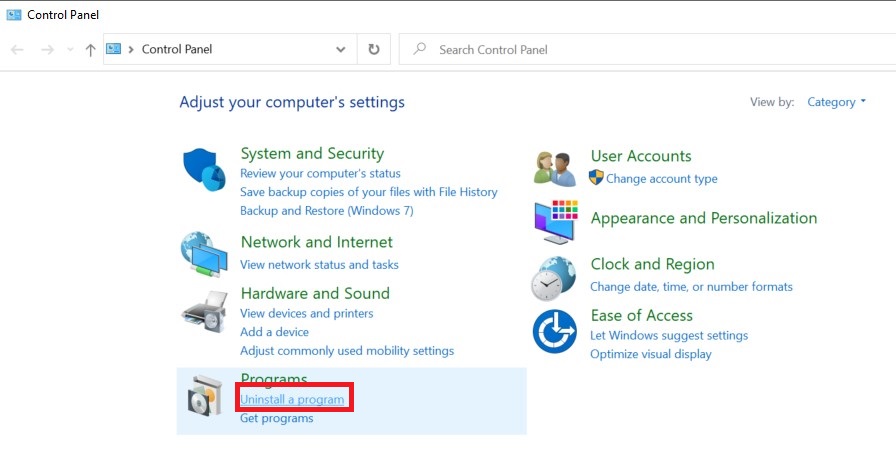
Assuming the user does not have the add-in installed, the following section will go into detail on the first point above. If an outdated version is installed on the user’s machine, it can easily be uninstalled by going to “Control Panel” and clicking ”Uninstall A Program”.

Modern Accounting: How to Overcome Financial Close Challenges
Improvements in each of the following period-close core tasks can provide transformative change and are reviewed in this guide include closing the books and external reporting, periodic reconciliations, and managing the period-close process.
From the next window containing a list of all the programs, find “OneStream Excel Add-in” and right-click “Uninstall”.
![]()
With the old version uninstalled, the following instructions will show the steps to install the correct version of the add-in:
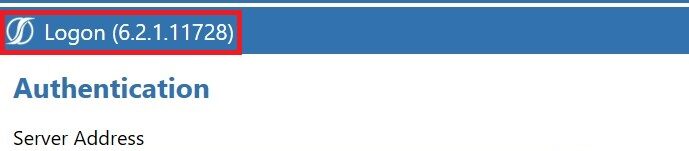
- Find the current OneStream version in the OneStream Client Application. This can be found by heading to the login page.
- Download the correct version of the OneStream Excel Add-in’s installation files.
- Access the XF MarketPlace.
- Click the computer icon next to “Platform”.

- On the next page, click the drop-down list and select the version that matches the version found in the first step. Since the application is currently on version 6.2.1.11728, “Platform Version 6.2.1” would be selected.
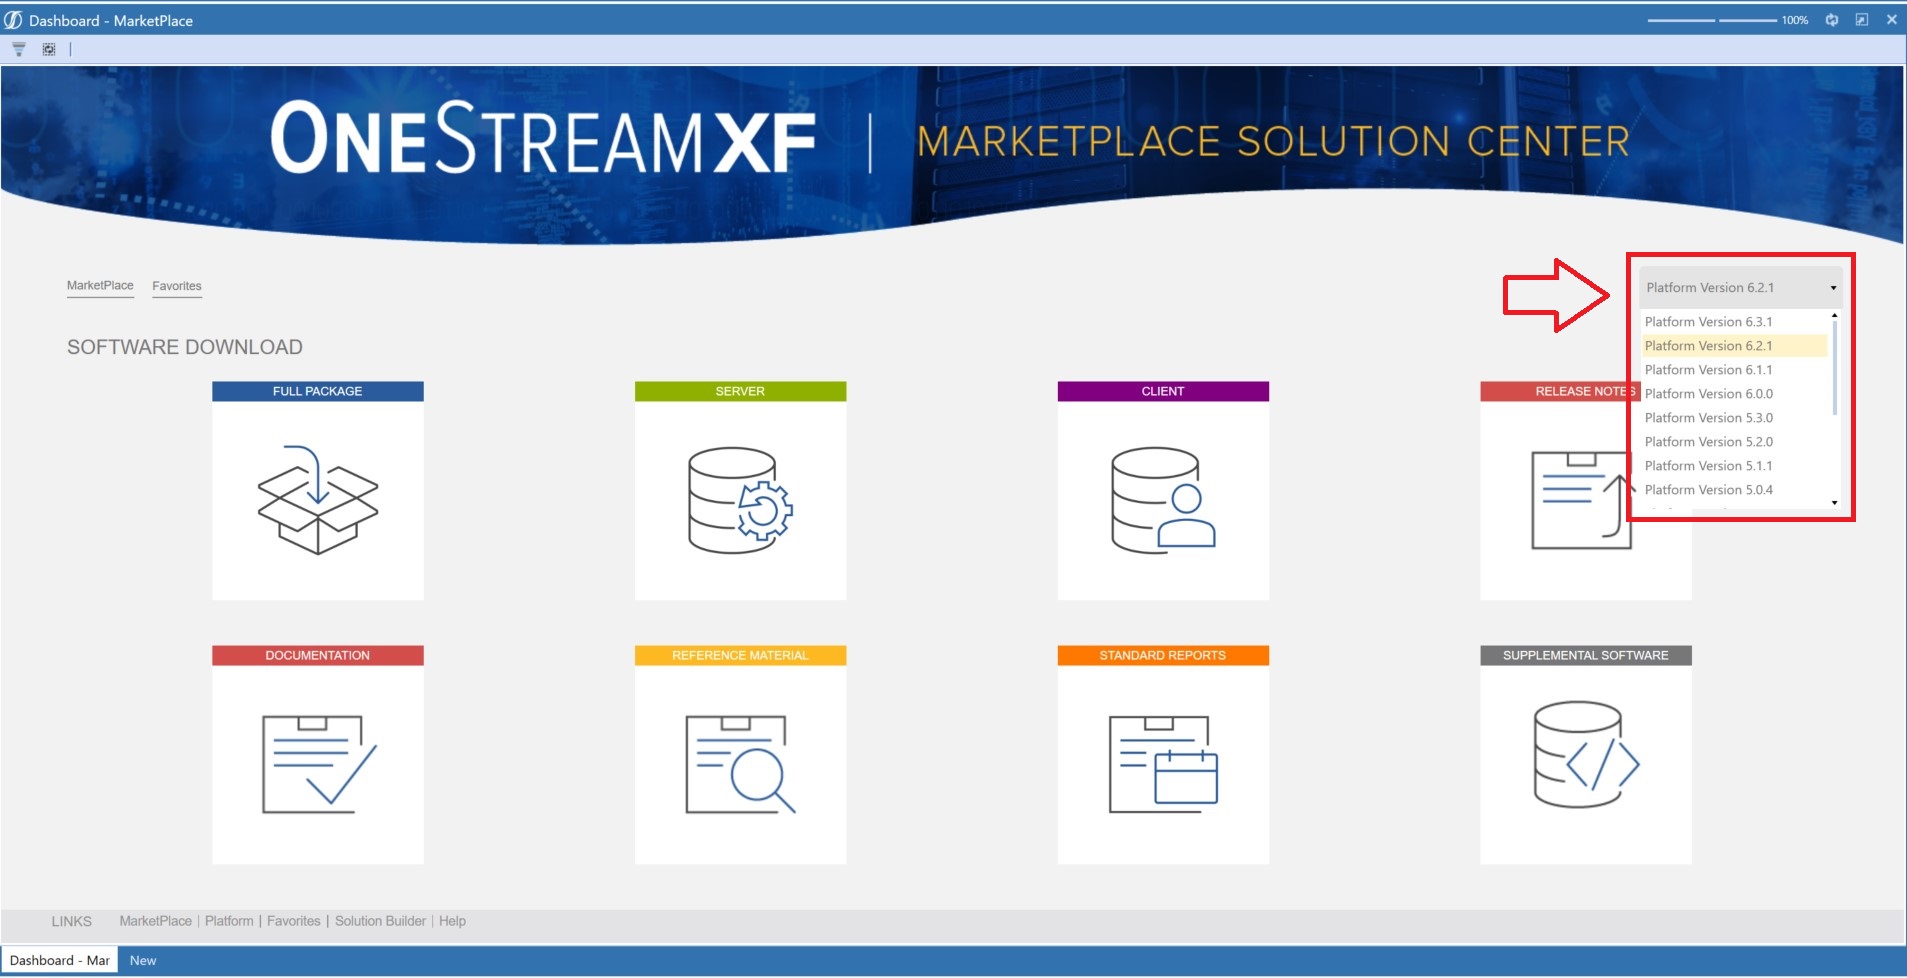
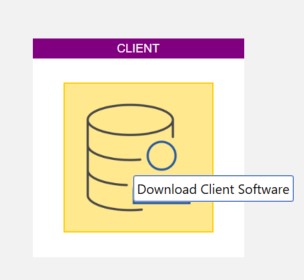
- After making sure the correct platform version is selected, click the icon under the “Client” module. A download window will pop up.
- Save the zip file where it can be accessed (for example, on the desktop)
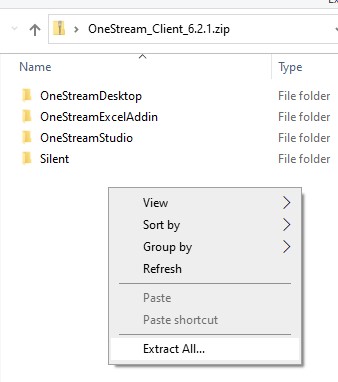
- Open the zip file, right-click on the white space within the window and select “Extract All”.
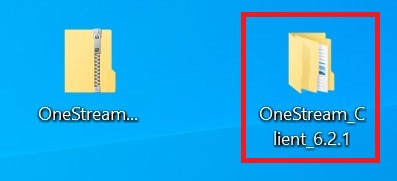
- Extract the zip file where it can be accessed. Here is the folder that will be produced after extraction.
- Running the Setup file and Installing the add-in
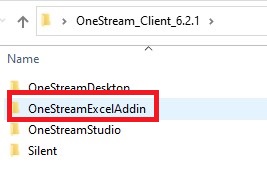
- Open the newly extracted folder. The contents of the folder should be the same as the zip file’s content from step two above.
- Open the folder “OneStreamExcelAddin”.
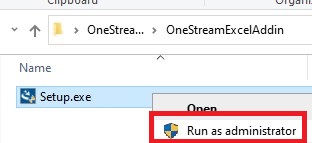
- Right-click on “Setup.exe” and select “Run as Administrator”.
- A User Account Control window will pop up asking if you “Want to allow this program to make changes to your device”.
- Click “Yes”.
- The InstallShield Wizard window will appear.
- Walk through the steps of the InstallShield
- Accept the User License Agreement.
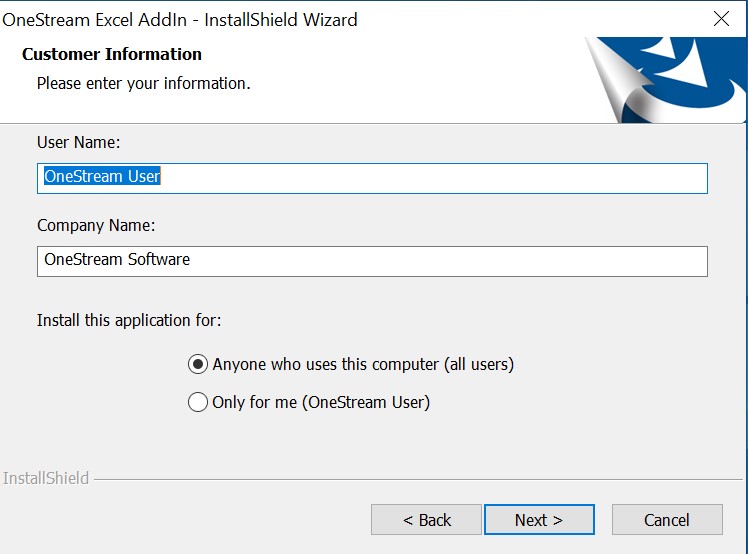
- Enter the user information in the “Customer Information” window. Below is an example of a screenshot of this information.
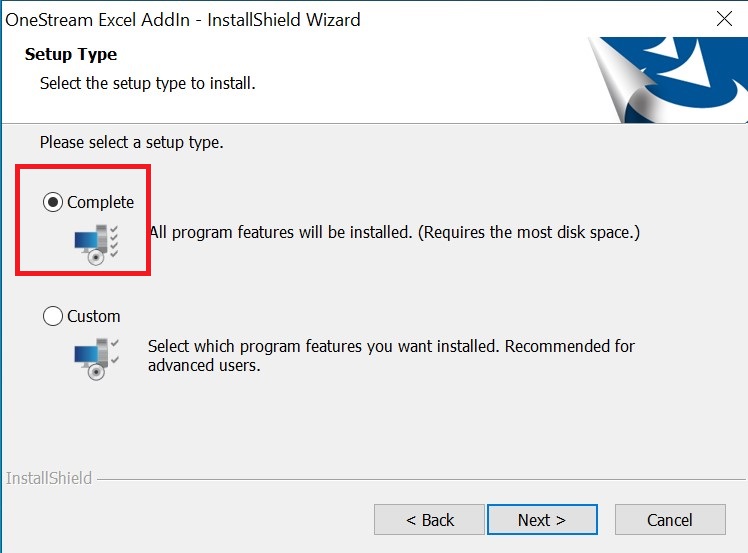
- Make sure the “Complete” radio button is selected on the “Setup Type” window before moving on. This will ensure all features of the add-in are installed.
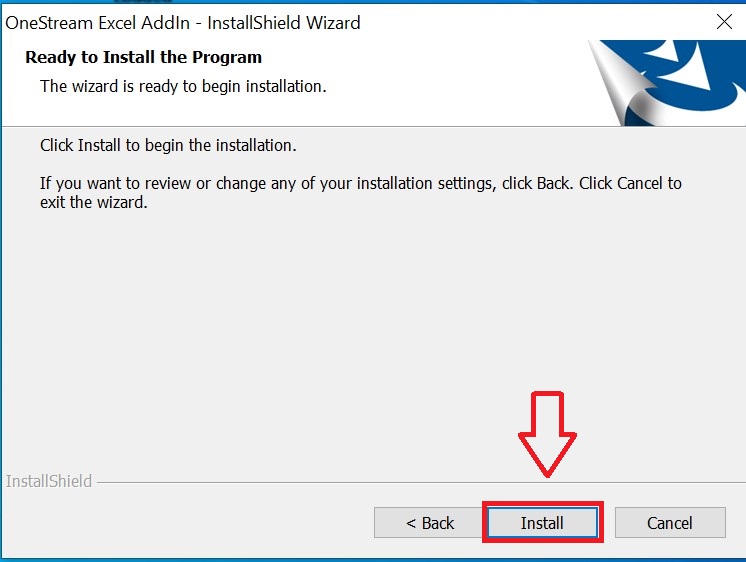
- Click “Install” on the installation window.
- After the installation is complete, Click “Finish”.
- Make sure the COM add-in is enabled within Excel.
- Open Excel
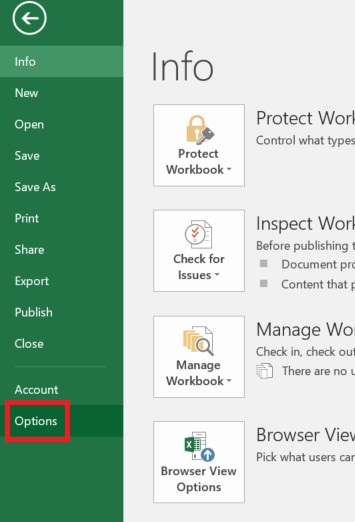
- Click “File” on the top left corner of the screen
- Click “Options” on the left side of the screen
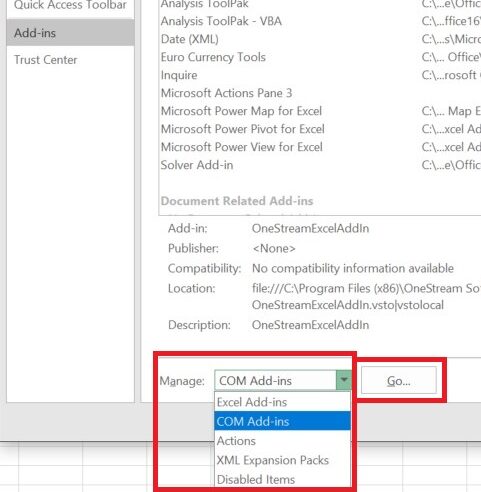
- Within the Excel Options window, select “Add-ins” on the left side
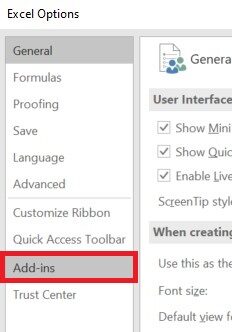
- In the drop-down on bottom of the Add-Ins window, select “COM Add-ins” and click “Go”
- Make sure the checkbox next to “OneStreamExcelAddIn” is selected.
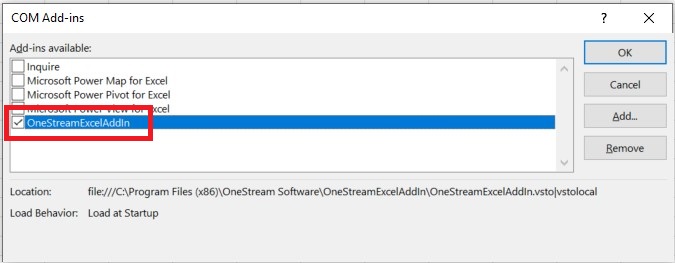
- Click “Ok”.
After following these steps the add-in should be correctly installed and fully enabled within Excel.
In the second installment of this guide, we’ll demonstrate how OneStream users can connect to the OneStream Excel Add-In, create a simple quick view, and launch documents from the Context Pane.