
Welcome to Part 2 of the tutorial! Now that we have the table, scripts, and post-deployment scripts from Part 1, we are going to publish the table to our local server, reverse engineer to create the Dbcontext, and add other components like providers and models (DTOs and View Models).
Details
Publish Database and Reverse Engineer
Click here for a condensed GIF showing how you can publish the database.
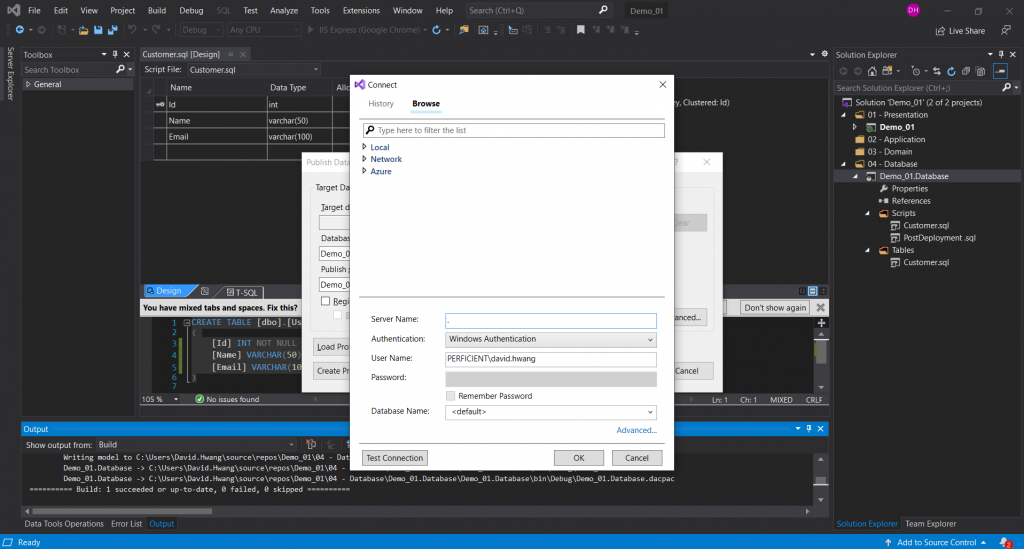
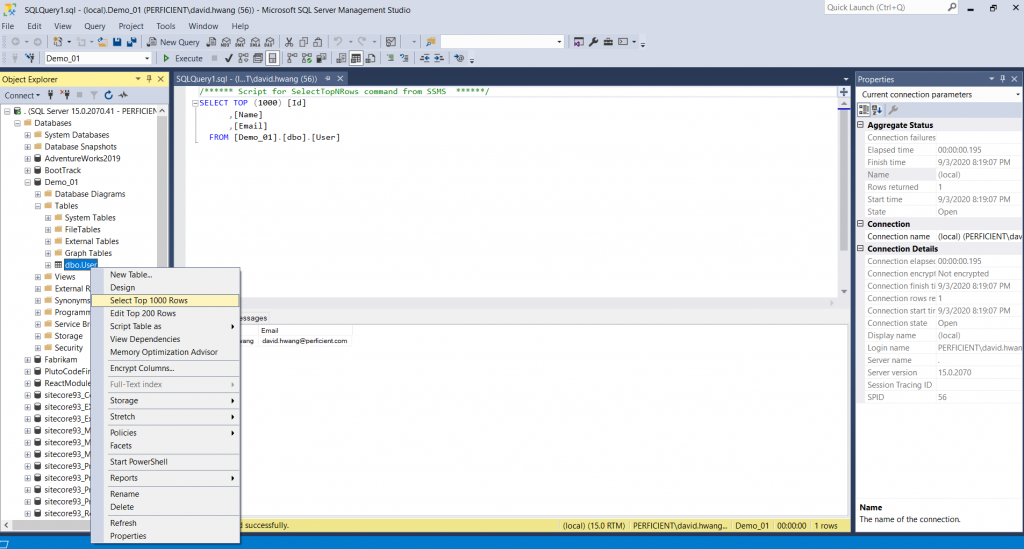
Right-click Demo_01.Database (SQL Server Database Project) and select ‘Publish’ to publish the data in VS to your local machine. Click ‘Edit’ and locate the server you want to publish the database to. Browse and type ‘.’ for a local server.
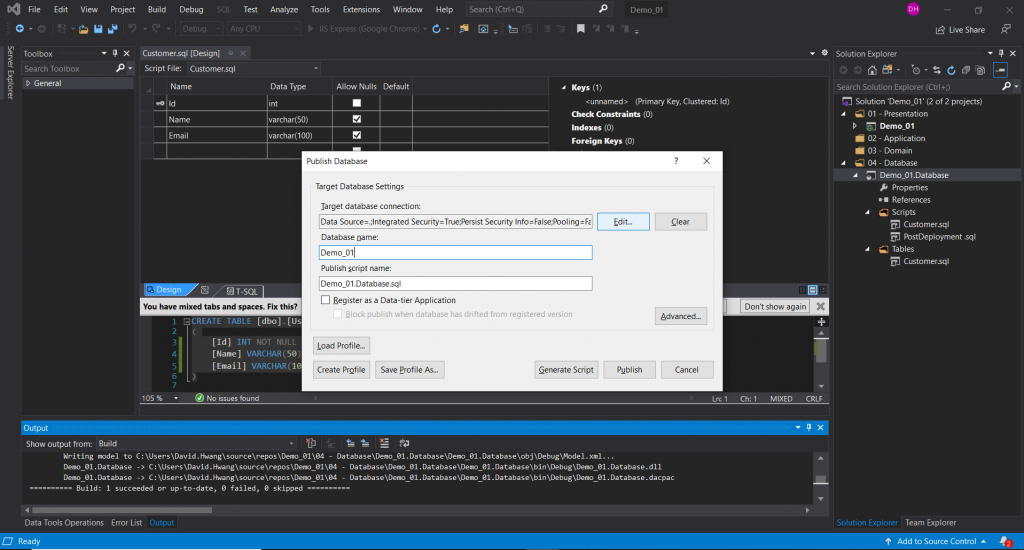
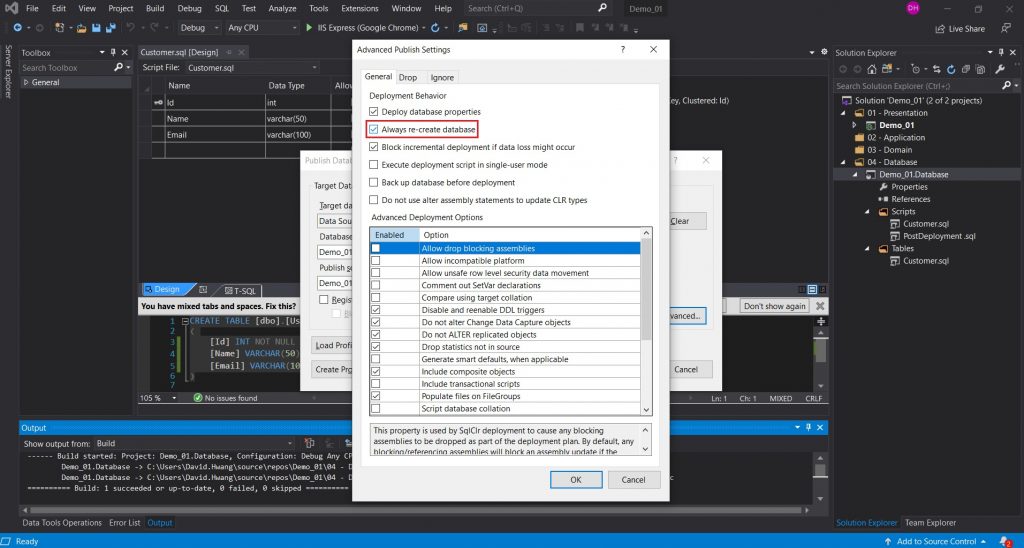
Click the “Advanced…” option and select the “Always re-create database” option. With this option, Visual Studio will drop the current database and re-create the new one every time you publish tables with recent changes.
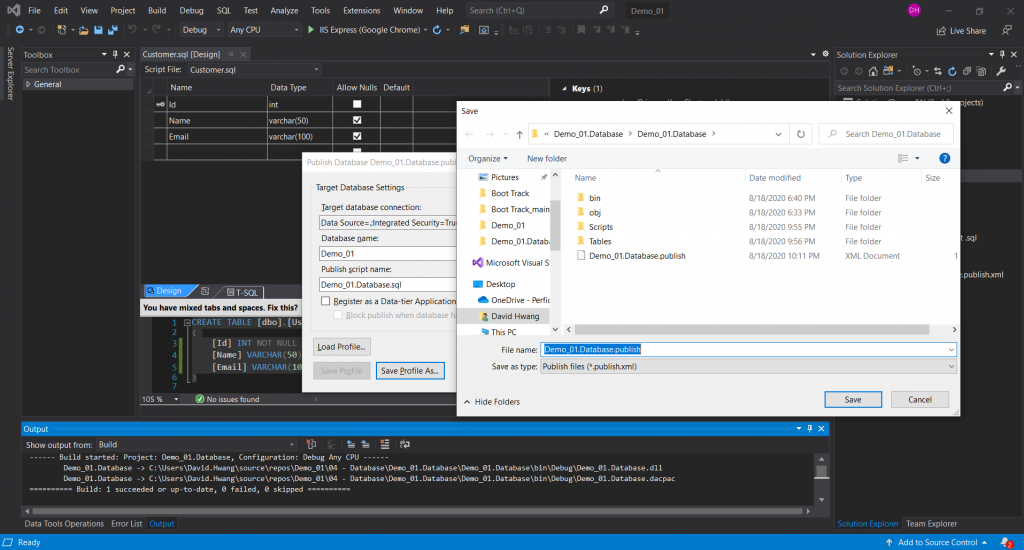
Click “Save Profile As…” and save .publish.xml file the first time you set up. You will then find this .xml file, which you can simply double-click to publish for any changes in the future.
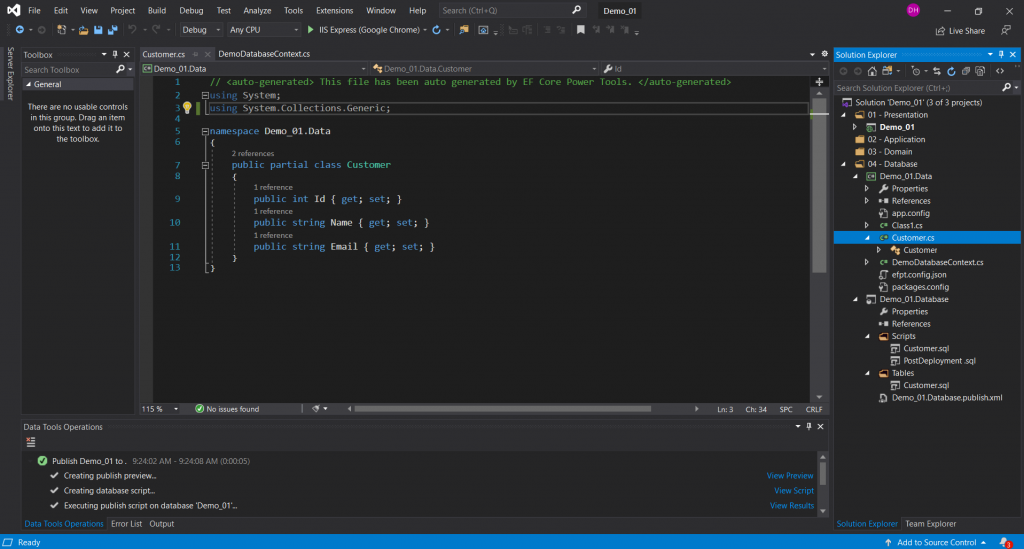
Once you click ‘Publish,’ you will notice a table with data added to your local database in your SQL Server Management Studio (SSMS)!
Add Class Libraries and Reverse Engineer
Click here for an updated post going over how you can reverse engineer in GIFs.
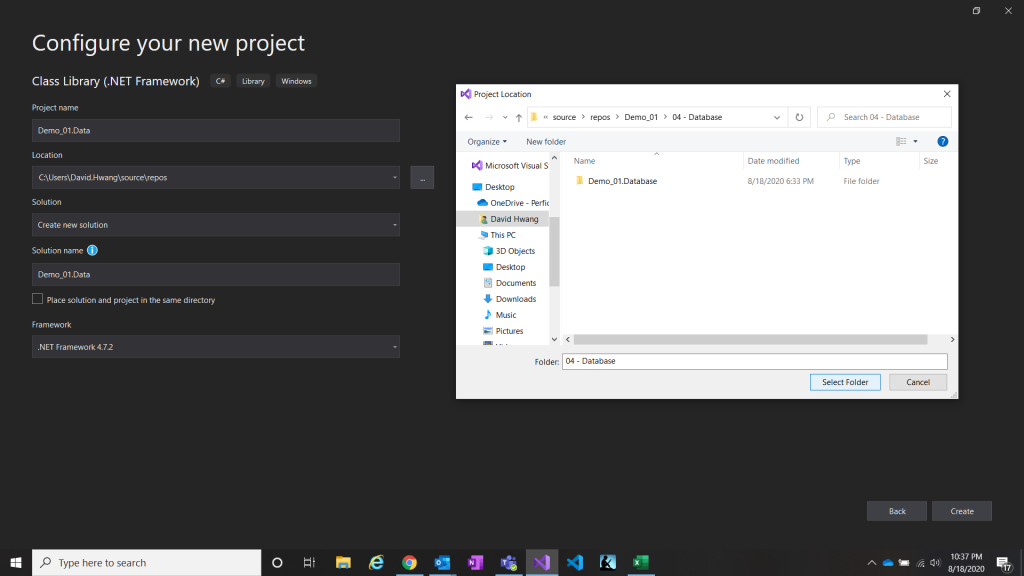
Now we are going to create a Class Library (.NET Framework) that will contain the DbContext that corresponds to the tables we created in the SQL Server Database Project (Demo_01.Database).
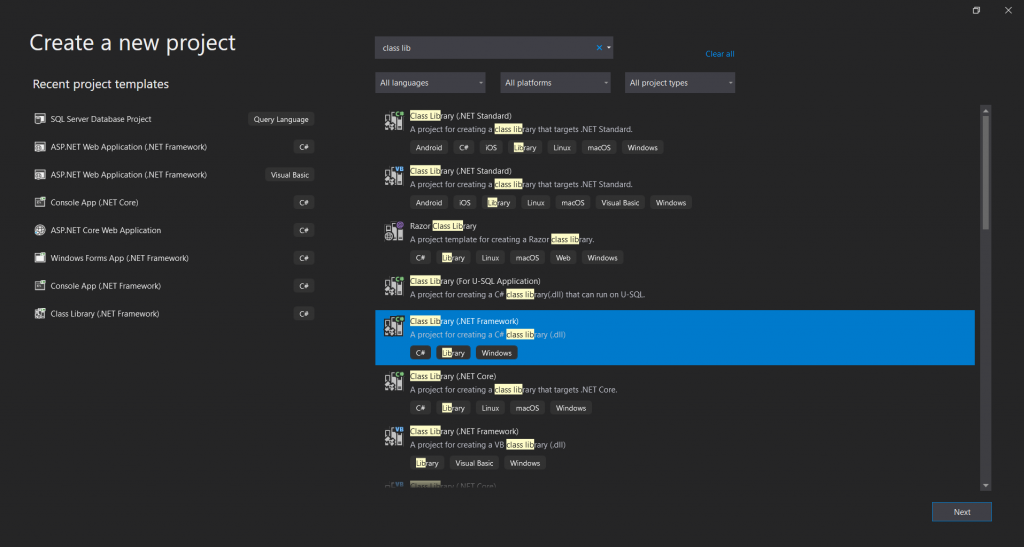
Name it.Data (a naming convention you could follow) and set the location path to the “04 – Database” folder.

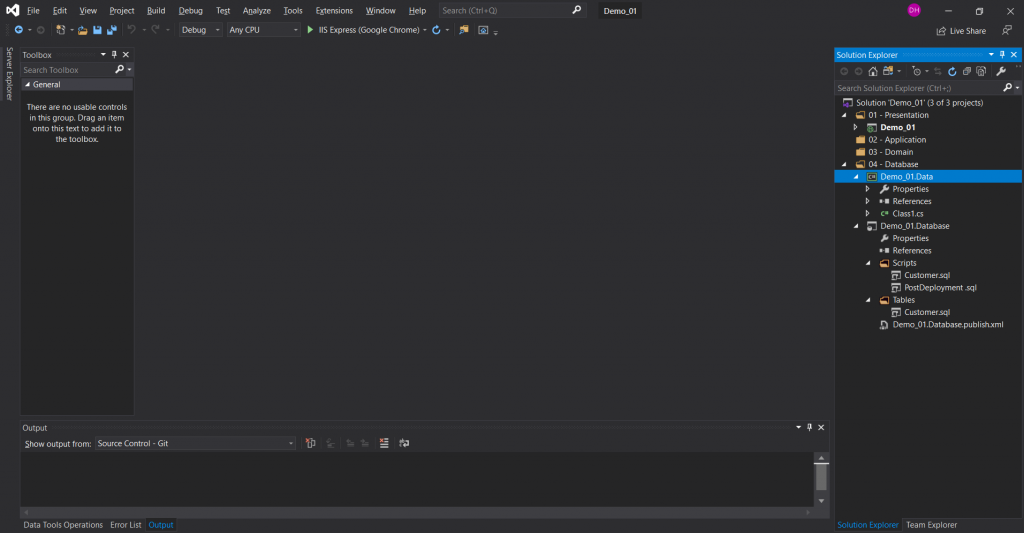
Once you create the project, head back out to the Demo_01.sln that we had been in. Repeat 10) of Part 1 of this tutorial to ‘Add Existing Project’ and drag the newly created file under the “04 – Database” folder.
At this point, the folder structure would look like this.
Before we can reverse-engineer, we need to download EF Core Power Tools. You can download it here. Right-click Demo_01.Data (Class Library) and select ‘Reverse Engineer.’
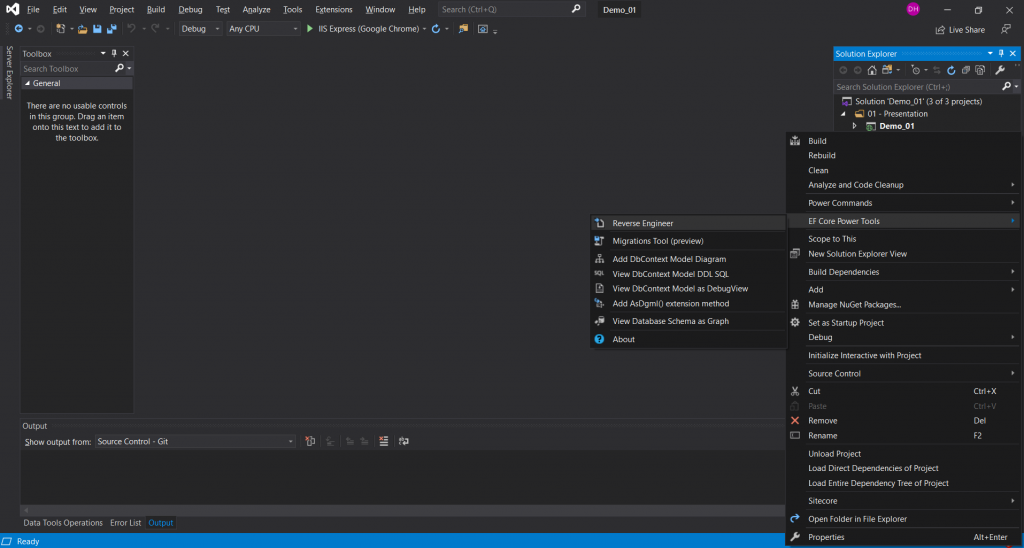
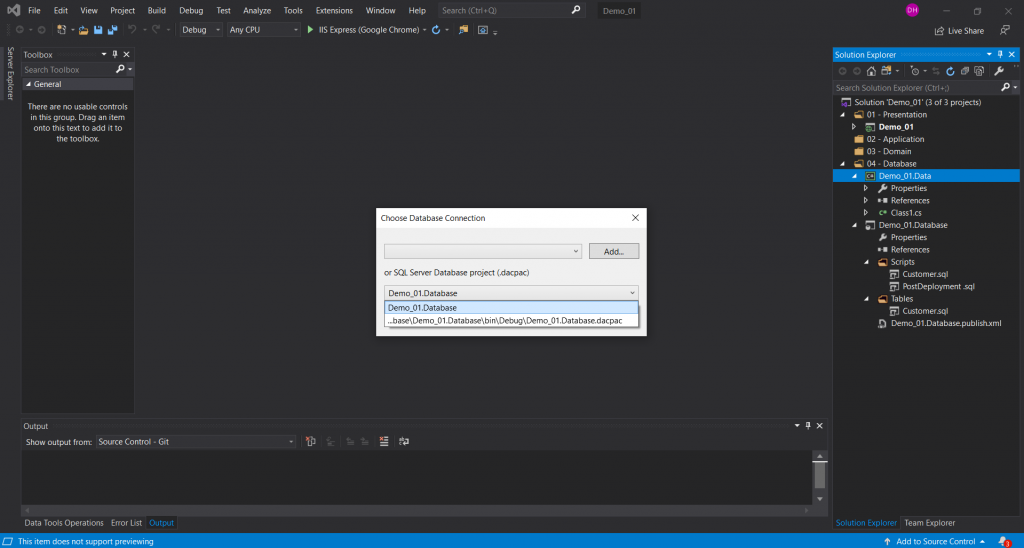
Select Demo_01.Database (SQL Server Project), check ‘Use EF Core’ and click ‘OK.’
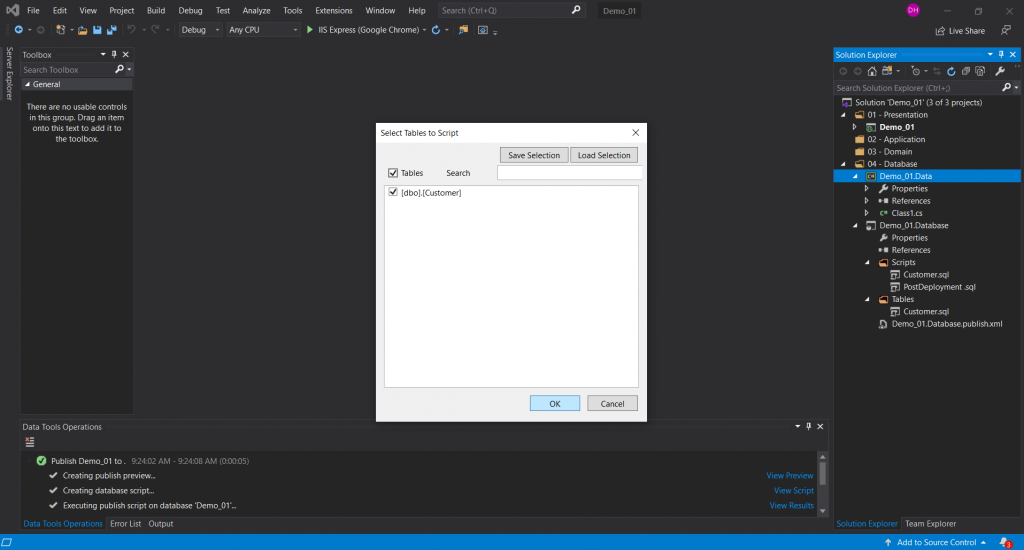
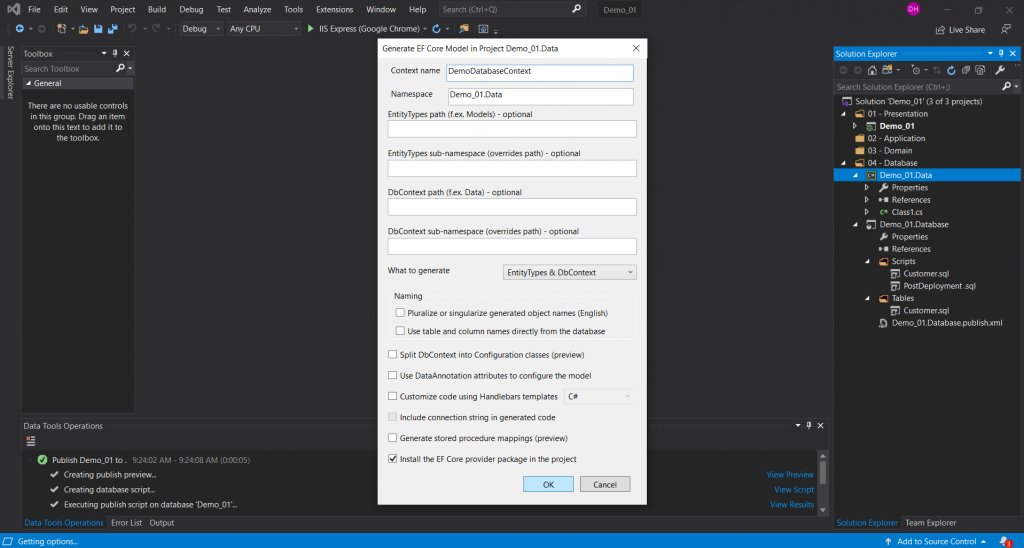
Choose the table you created and click ‘OK.’ Name your DbContext as you wish and click ‘OK.’
You can observe how a model is automatically configured using ModelBuilder and a DbSet that mirrors the table we created earlier.

Here is the Model created for us. We can remove the Class1.cs file that was auto-generated.
That is all we need to set up the database part of our solution! Now we are going to move on to set up providers in the Application folder and models (DTOs) and view models in the Domain folder.
Add Providers and Models
Providers are where the DbContext will be called, and models (DTOs) will be populated with data from it. We will create Class Libraries for a Demo_01. Application project and a Demo_01.Domain project and place it under ’02 – Application’ and ’03 – Domain’ folders, respectively (Refer to Step 4 and 5 of this tutorial).
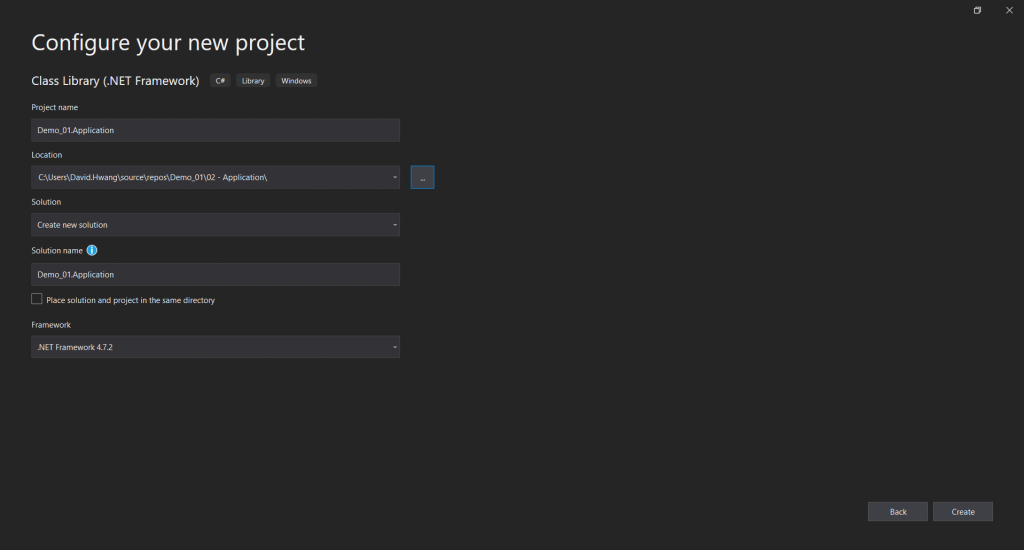
Create a Class Library (.NET Framework) like we did in 4) that will later hold providers. You could append. Application to the project name. Don’t forget to set your location to the ’02 – Application’ folder.
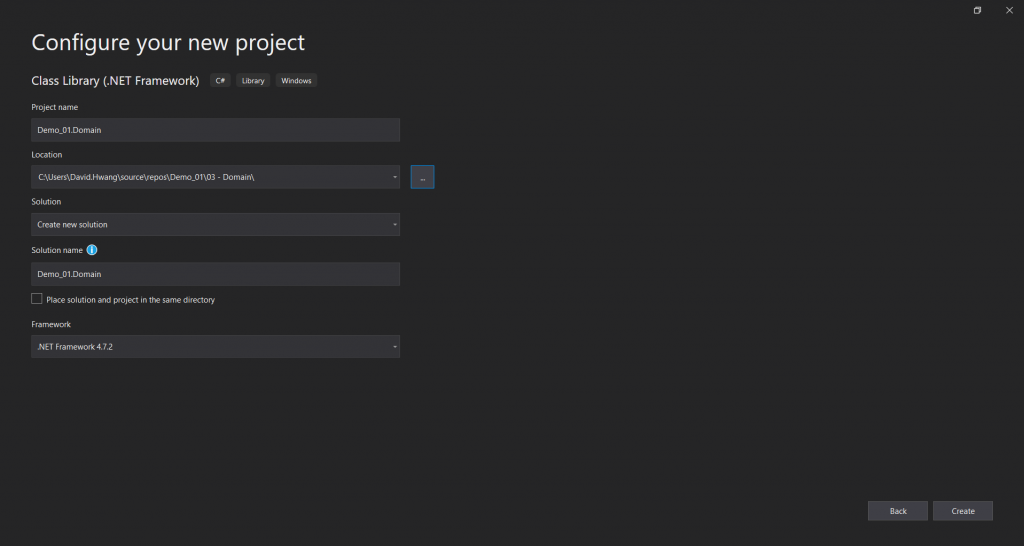
Create another Class Library that will hold our models (DTOs) and View Models. You could append. Domain to the project name. Again, configure the location to ’03 – Domain’ folder.
Return to the Demo_01.sln project and right-click the solution and add existing projects. (Refer to 10. of Part 1 of this tutorial). Drag the added tasks into the corresponding folders.
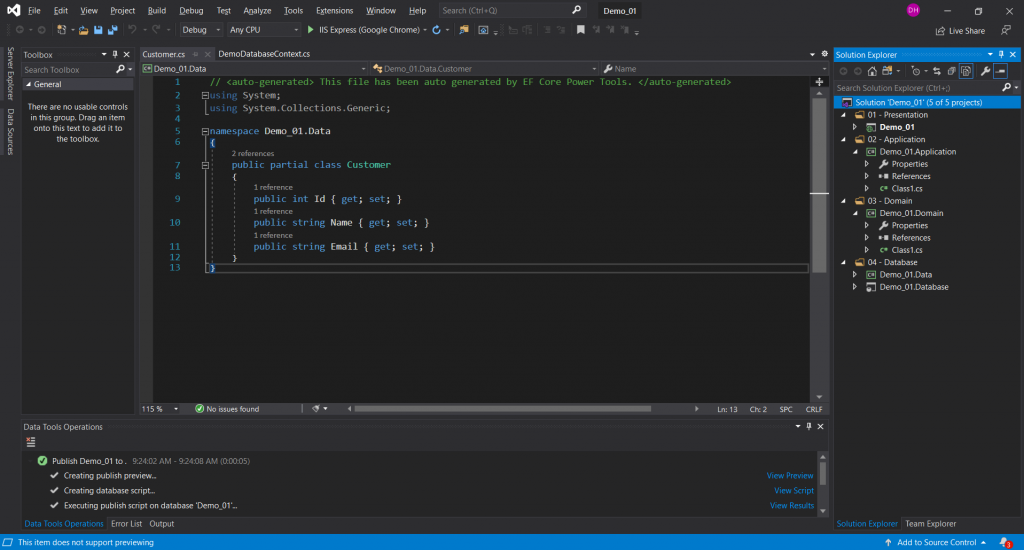
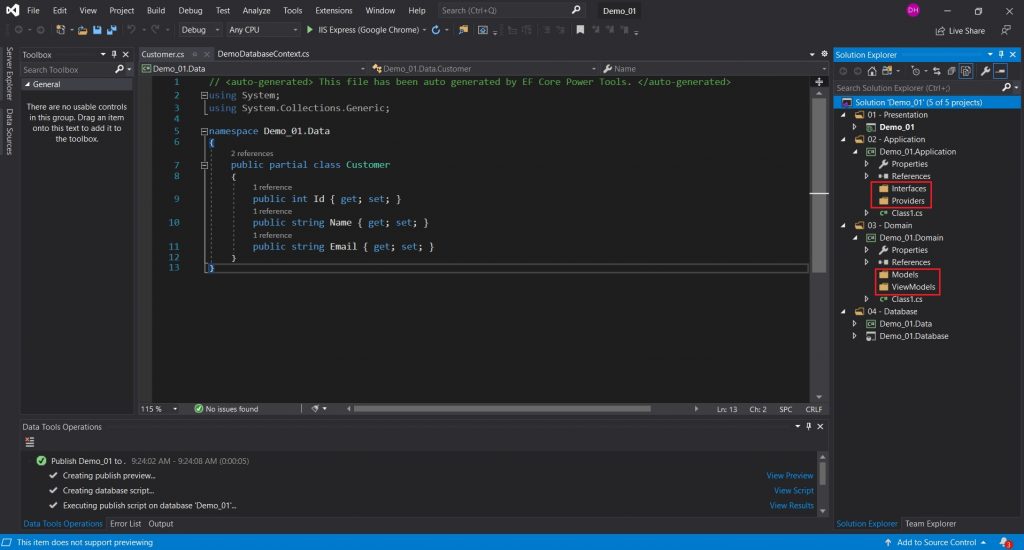
’02 – Application’ folder will contain Interfaces and Providers folders while ’03 – Domain’ holds Models and ViewModels folders.
Now that we have the entire structure constructed for the solution, it is time to populate our models with data! I will go over those in the following tutorials to come. Thank you for reading!